

A photography challenge!
Let's manipulate the whole frame.

Hey! Hi! Hello! We’re back!
Hope y’all had fun with the last challenge! I enjoyed it a lot.
Today we’re going to do some photography.
You don’t need a fancy camera for this, the camera you have on your phone will work fine enough.
So let’s get into it!
The challenge for this week will be still life photography!
I am completely new to this type of photography/art so let’s learn about it together.
What is still life?
“In a nutshell, a still life is a work of art that focuses on inanimate subjects. Usually, the subjects are commonplace objects. That can include both manmade objects (such as vases, items of clothing, and consumer products) and natural objects (like plants, food, rocks, and shells).”
- https://www.format.com/online-portfolio-website/still-life-photography/guide
Why choose still life?
Last year, I worked as a media educator with a non-profit. We would teach different photography/videography skills to different age levels across K-12 grade schools. As a one off workshop, we were asked to help teach a basic photography workshop at a local teaching convention.
When we began the workshop we just wanted the teachers to practice using a DSLR camera. The goal was to be able to teach them how to focus their camera, snap a photo, and be able to look at the photo. We didn’t really care about what they would snap their photo of. One of the participating teachers was actually an art teacher that worked at the school that was hosting the convention. She offered some objects for the teachers to use to take pictures of. They were like plastic cups, bowls, skulls, flowers, etc. We just needed them so they could learn how to snap a pic.
As the different rotations of teachers came through our workshop we began to notice that the teachers became more intrigued as to how to place these objects in their frame. They would slightly rotate an apple. They would stack a chalice on top of a cup. They would flip over the bowl and use it as a stand. It was really interesting to me, because I’ve never seen anyone get so engrained with minuscule adjustments for a “warm up” picture.
They were controlling the whole frame of their picture. They were playing with the objects in front of them and adjusting everything. The height of this chalice was a little too short. Let me put a book underneath it so it lines up better with this skull. How would this apple look if I set this chalice on its side and let it lay inside of it?
It was really interesting to watch. So that’s why I want to try it out.
The Challenge
For this challenge, I want you to find different types of objects with different shapes and characteristics. Next find a place to create your set. It doesn’t need to be anything fancy, a tabletop is fine. Just keep in mind where light is and how you can manipulate it. Try not to be at an area where a window with harsh light is coming through, it will blow out your frame or make you underexpose the rest of your shot.
Now that we have our play space, set up your camera or phone on anything stable and create a frame. A tripod is recommended, BUT you can use whatever you have. Just get creative in how to create your base for your device. Stack books, use a stool, whatever you got.
Your frame doesn’t need to be anything fancy, just get your camera in a place where you are happy with how it looks. As a starter, just put your camera head on. That means same height as your table, with it looking directly at your set.
This will be my frame for the exercise.
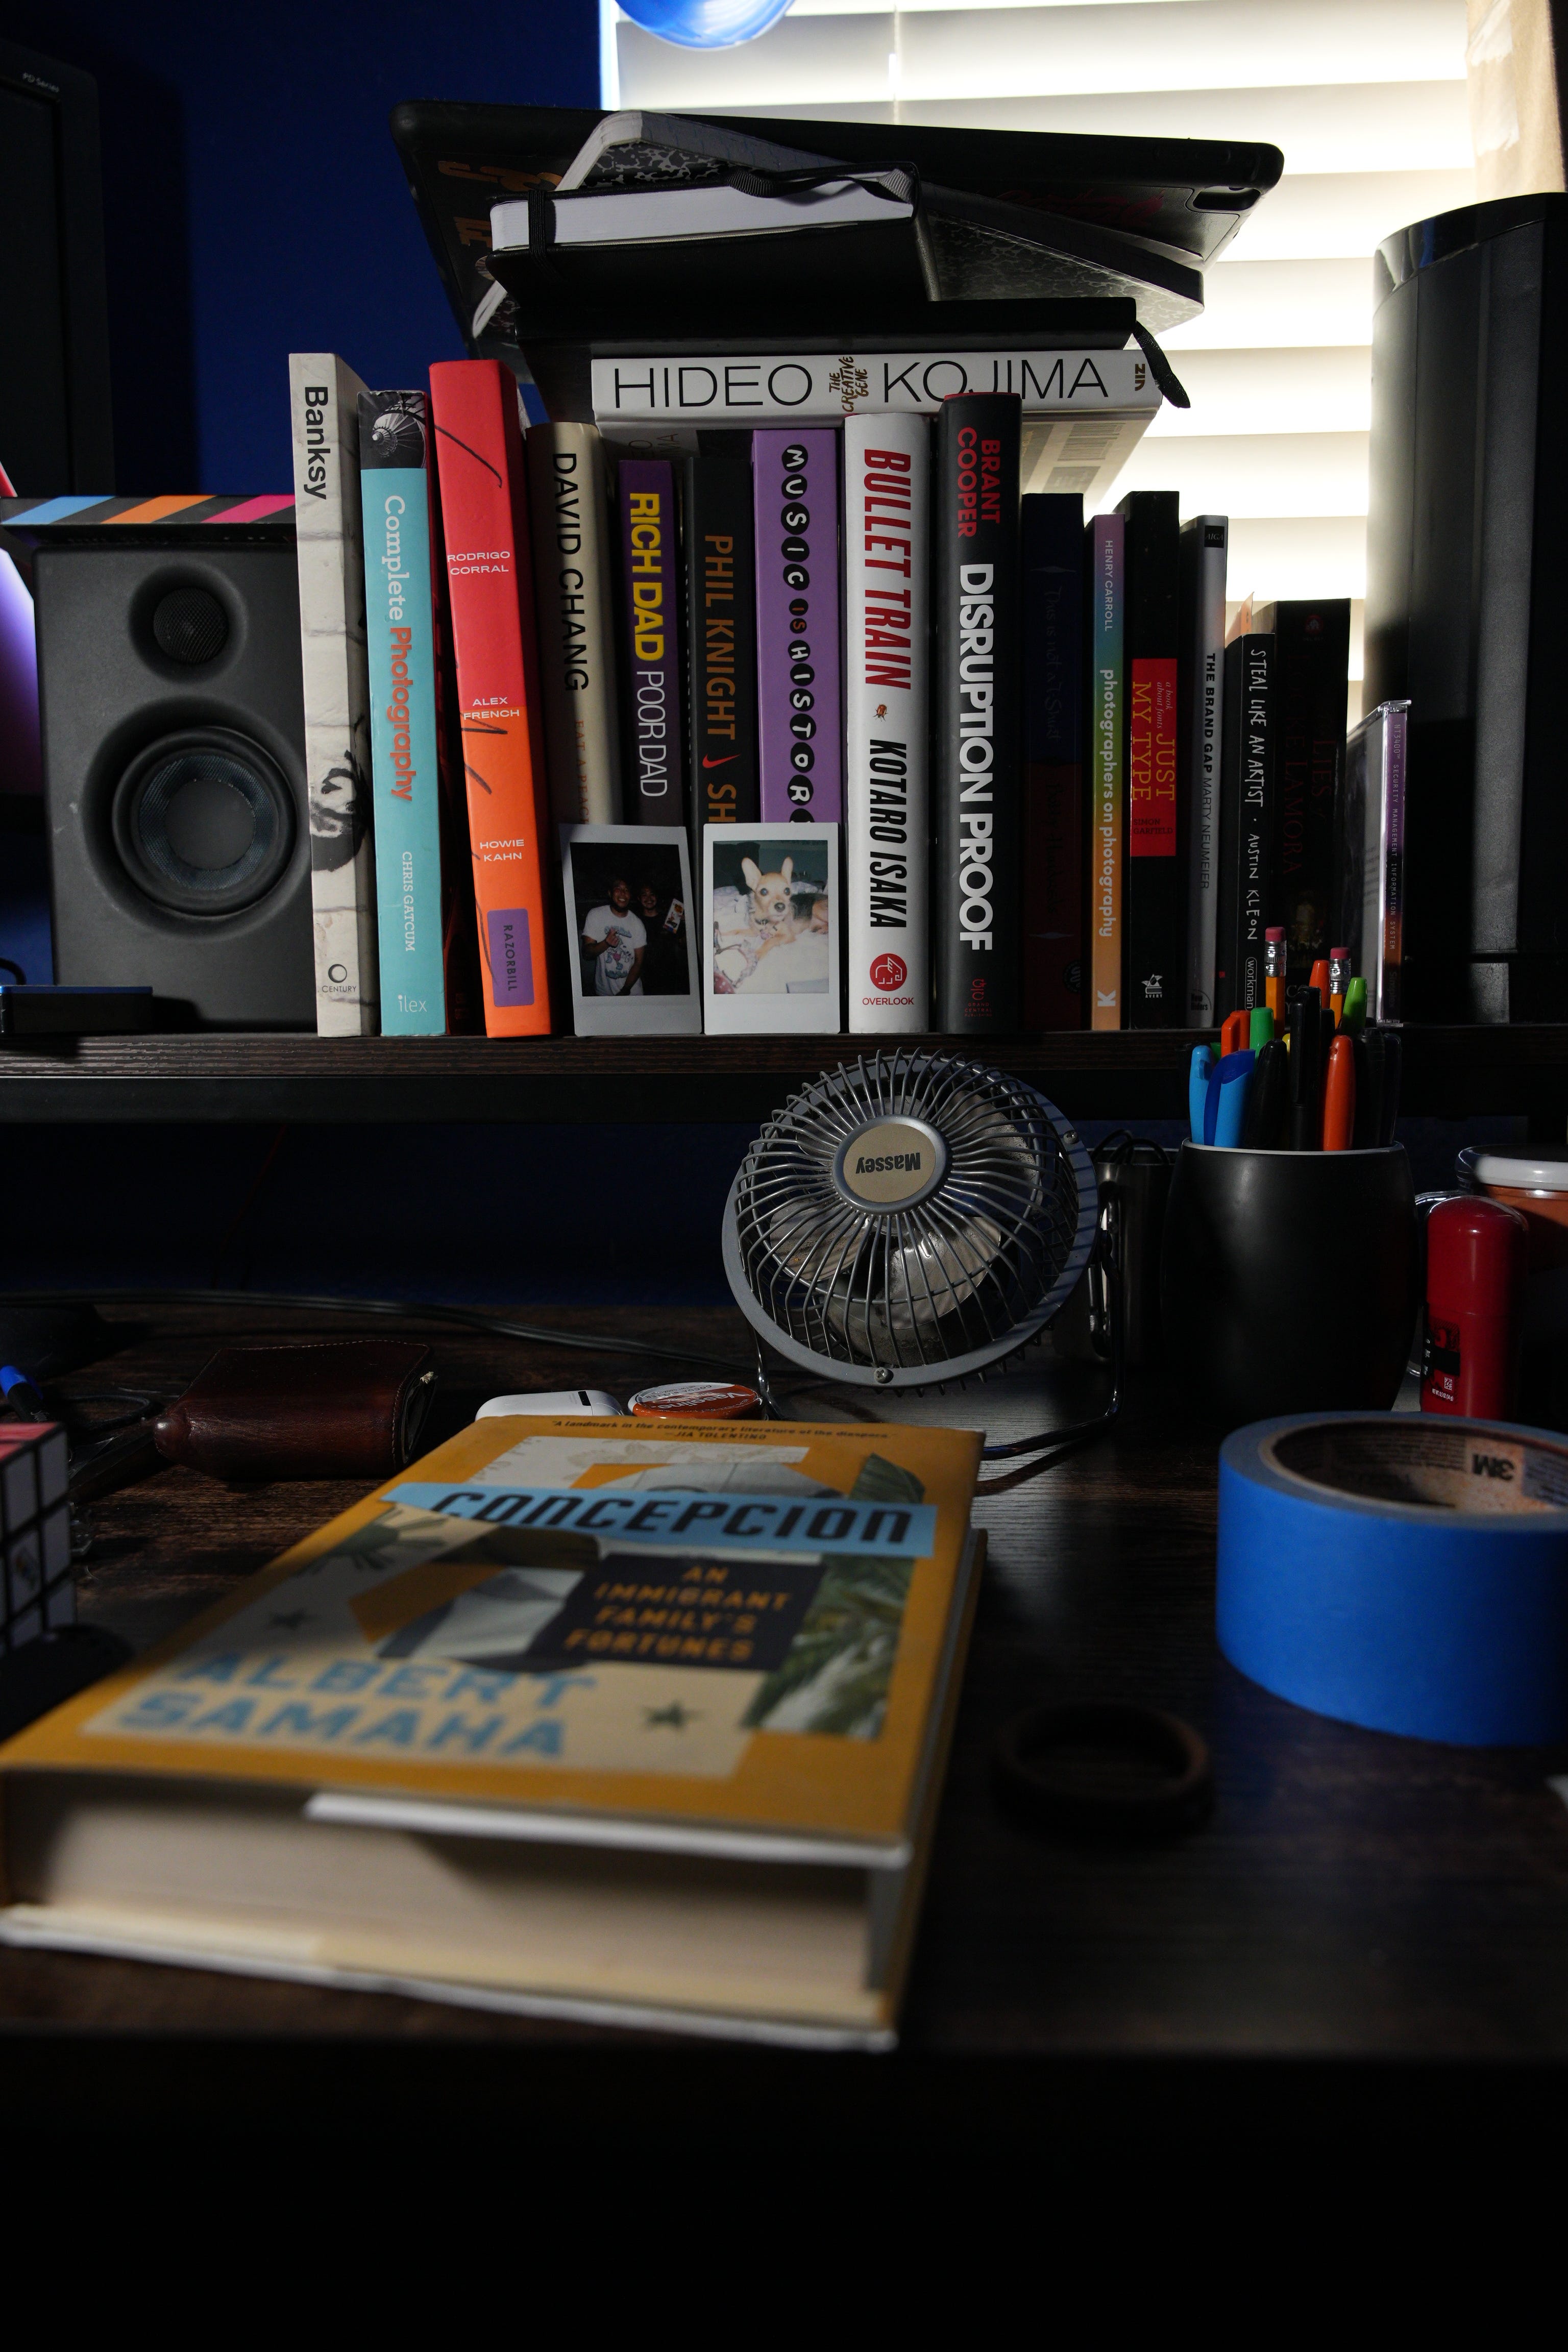
Now let’s arrange our objects.
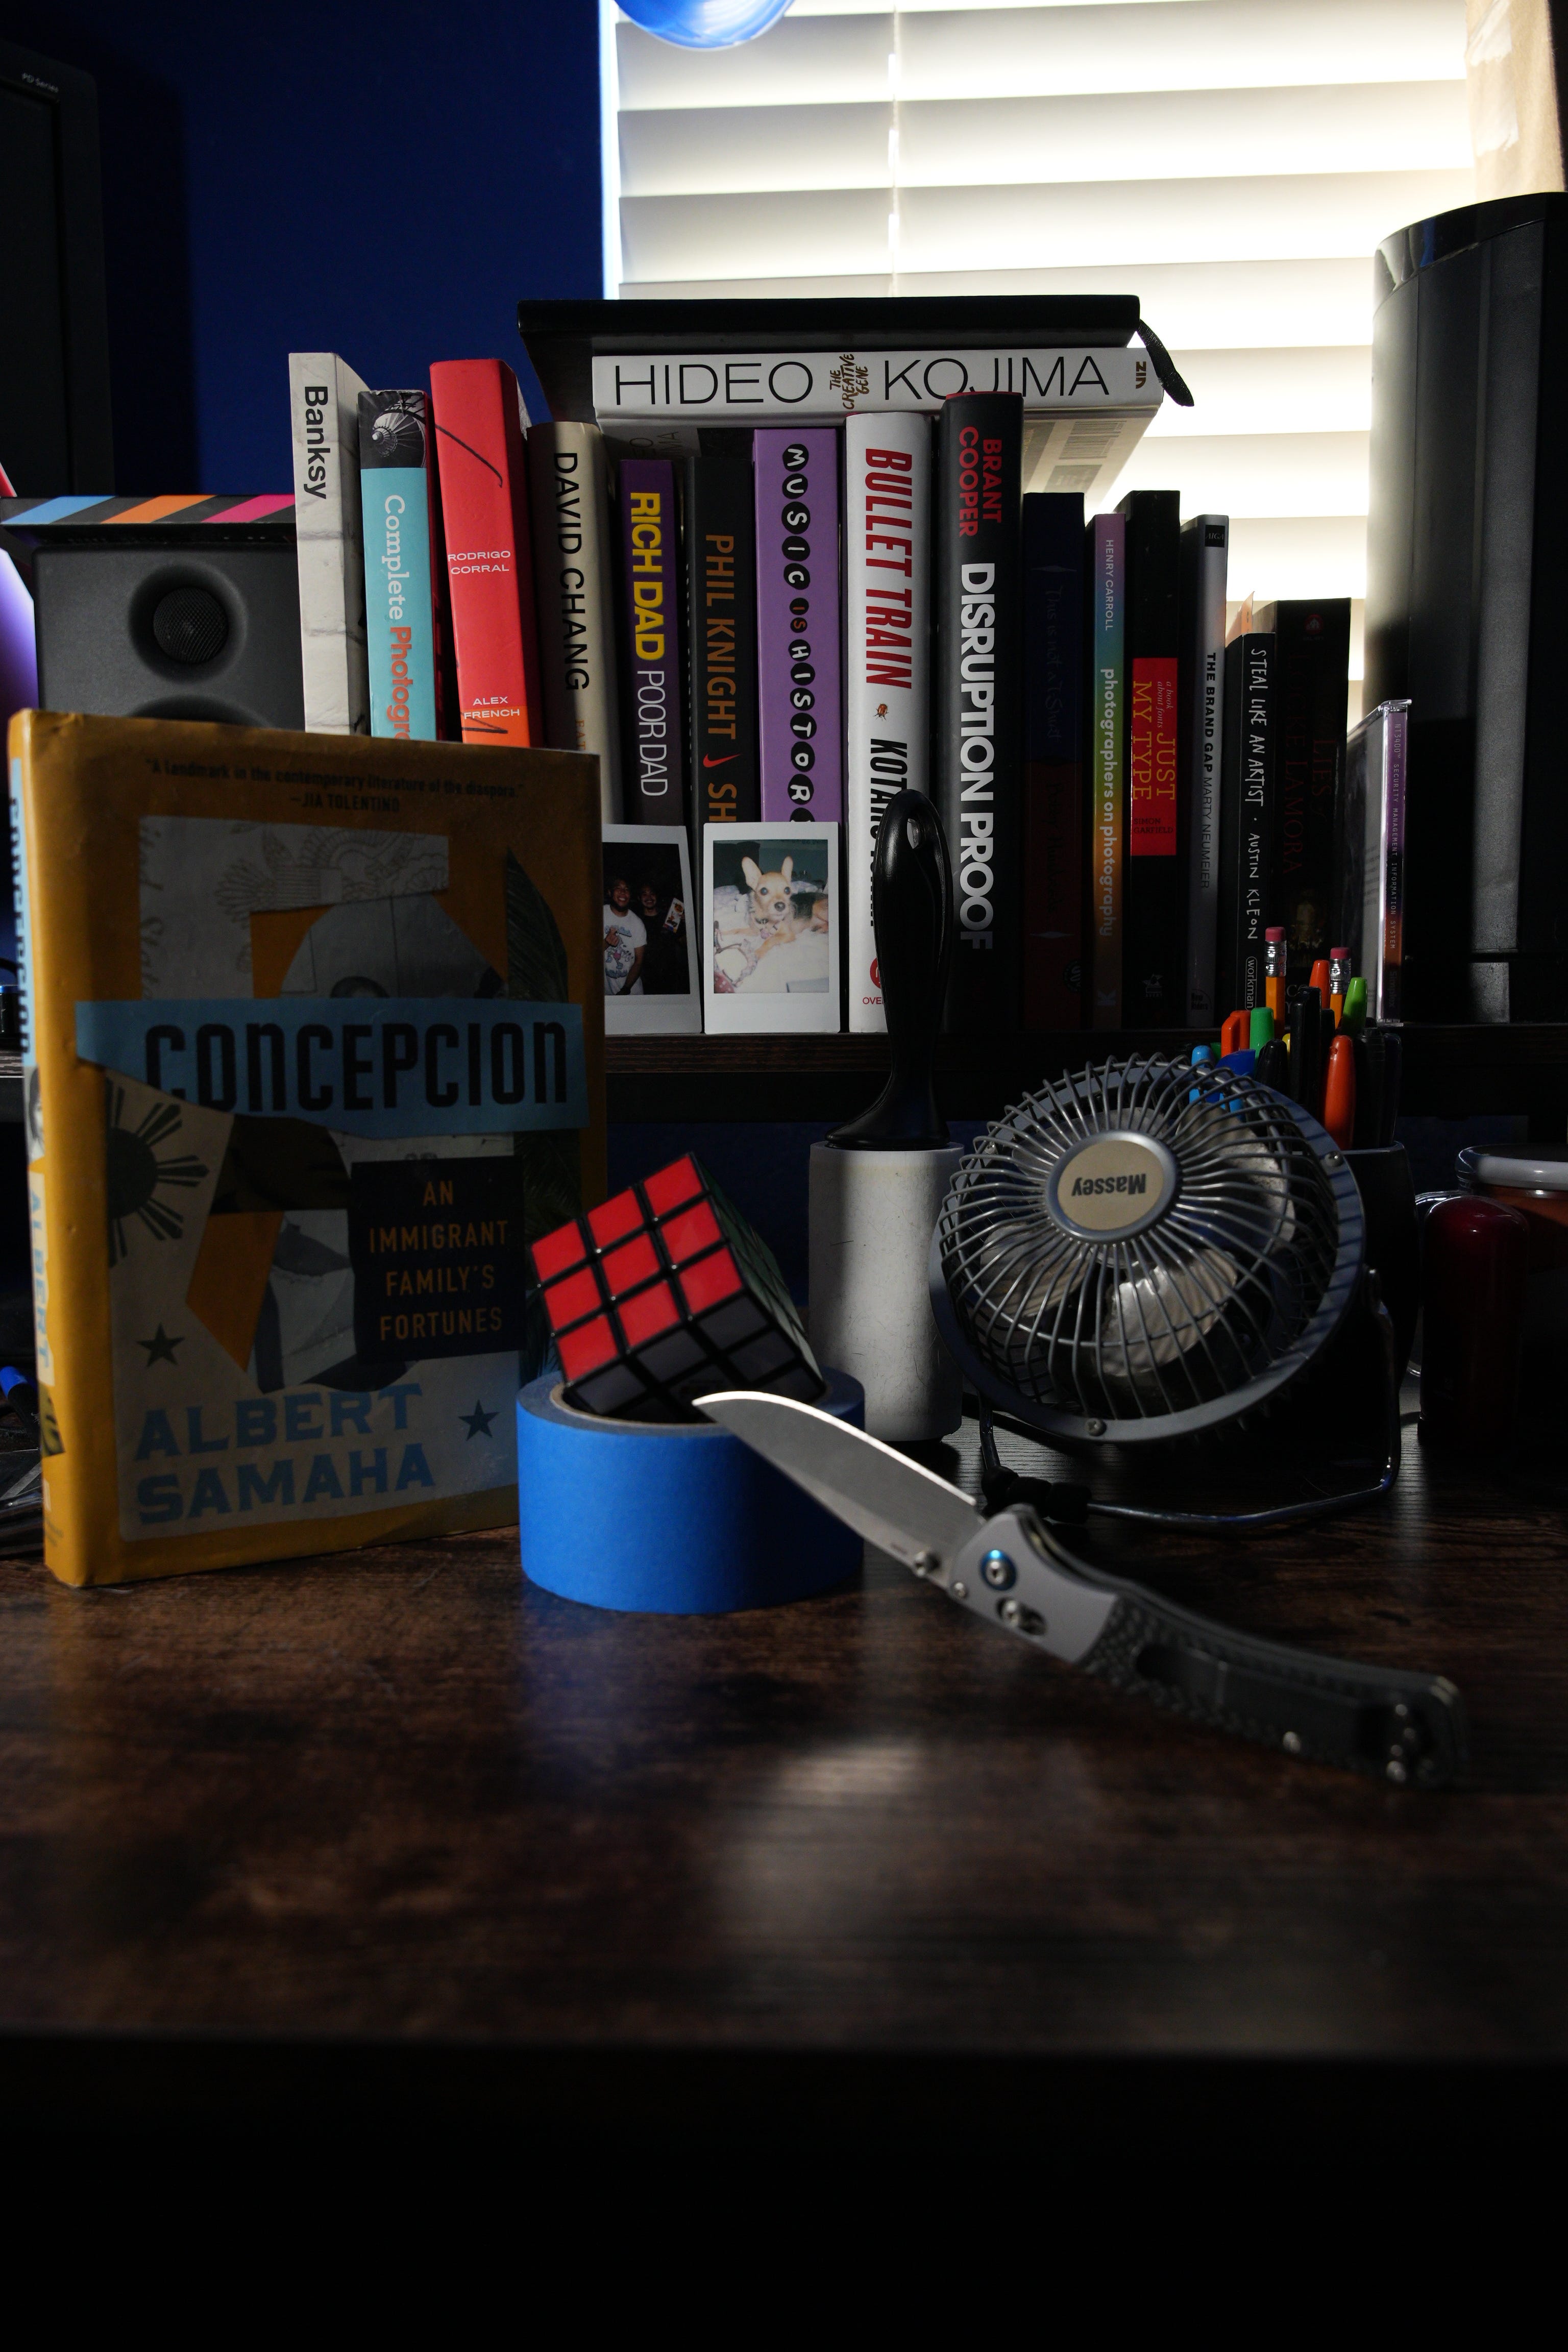
In this picture, I like most of my placements. In front of the book feels a little empty, so I want to add something in there to fill the frame. I will get to that in a bit. The lighting I am using is just a lamp, I do enjoy the color and brightness of the light, but the direction of the light doesn’t feel right. I want the book to be better lit. You can tell the light is pretty parallel with the book. Now, I will change the angle of the light to see what other looks I can get without moving my arrangement.
So I moved my light a bit to get more in front of the scene. I’m liking how it lights the book, but I’m not liking the shadow the Rubik’s cube is casting onto the lint roller in the back.
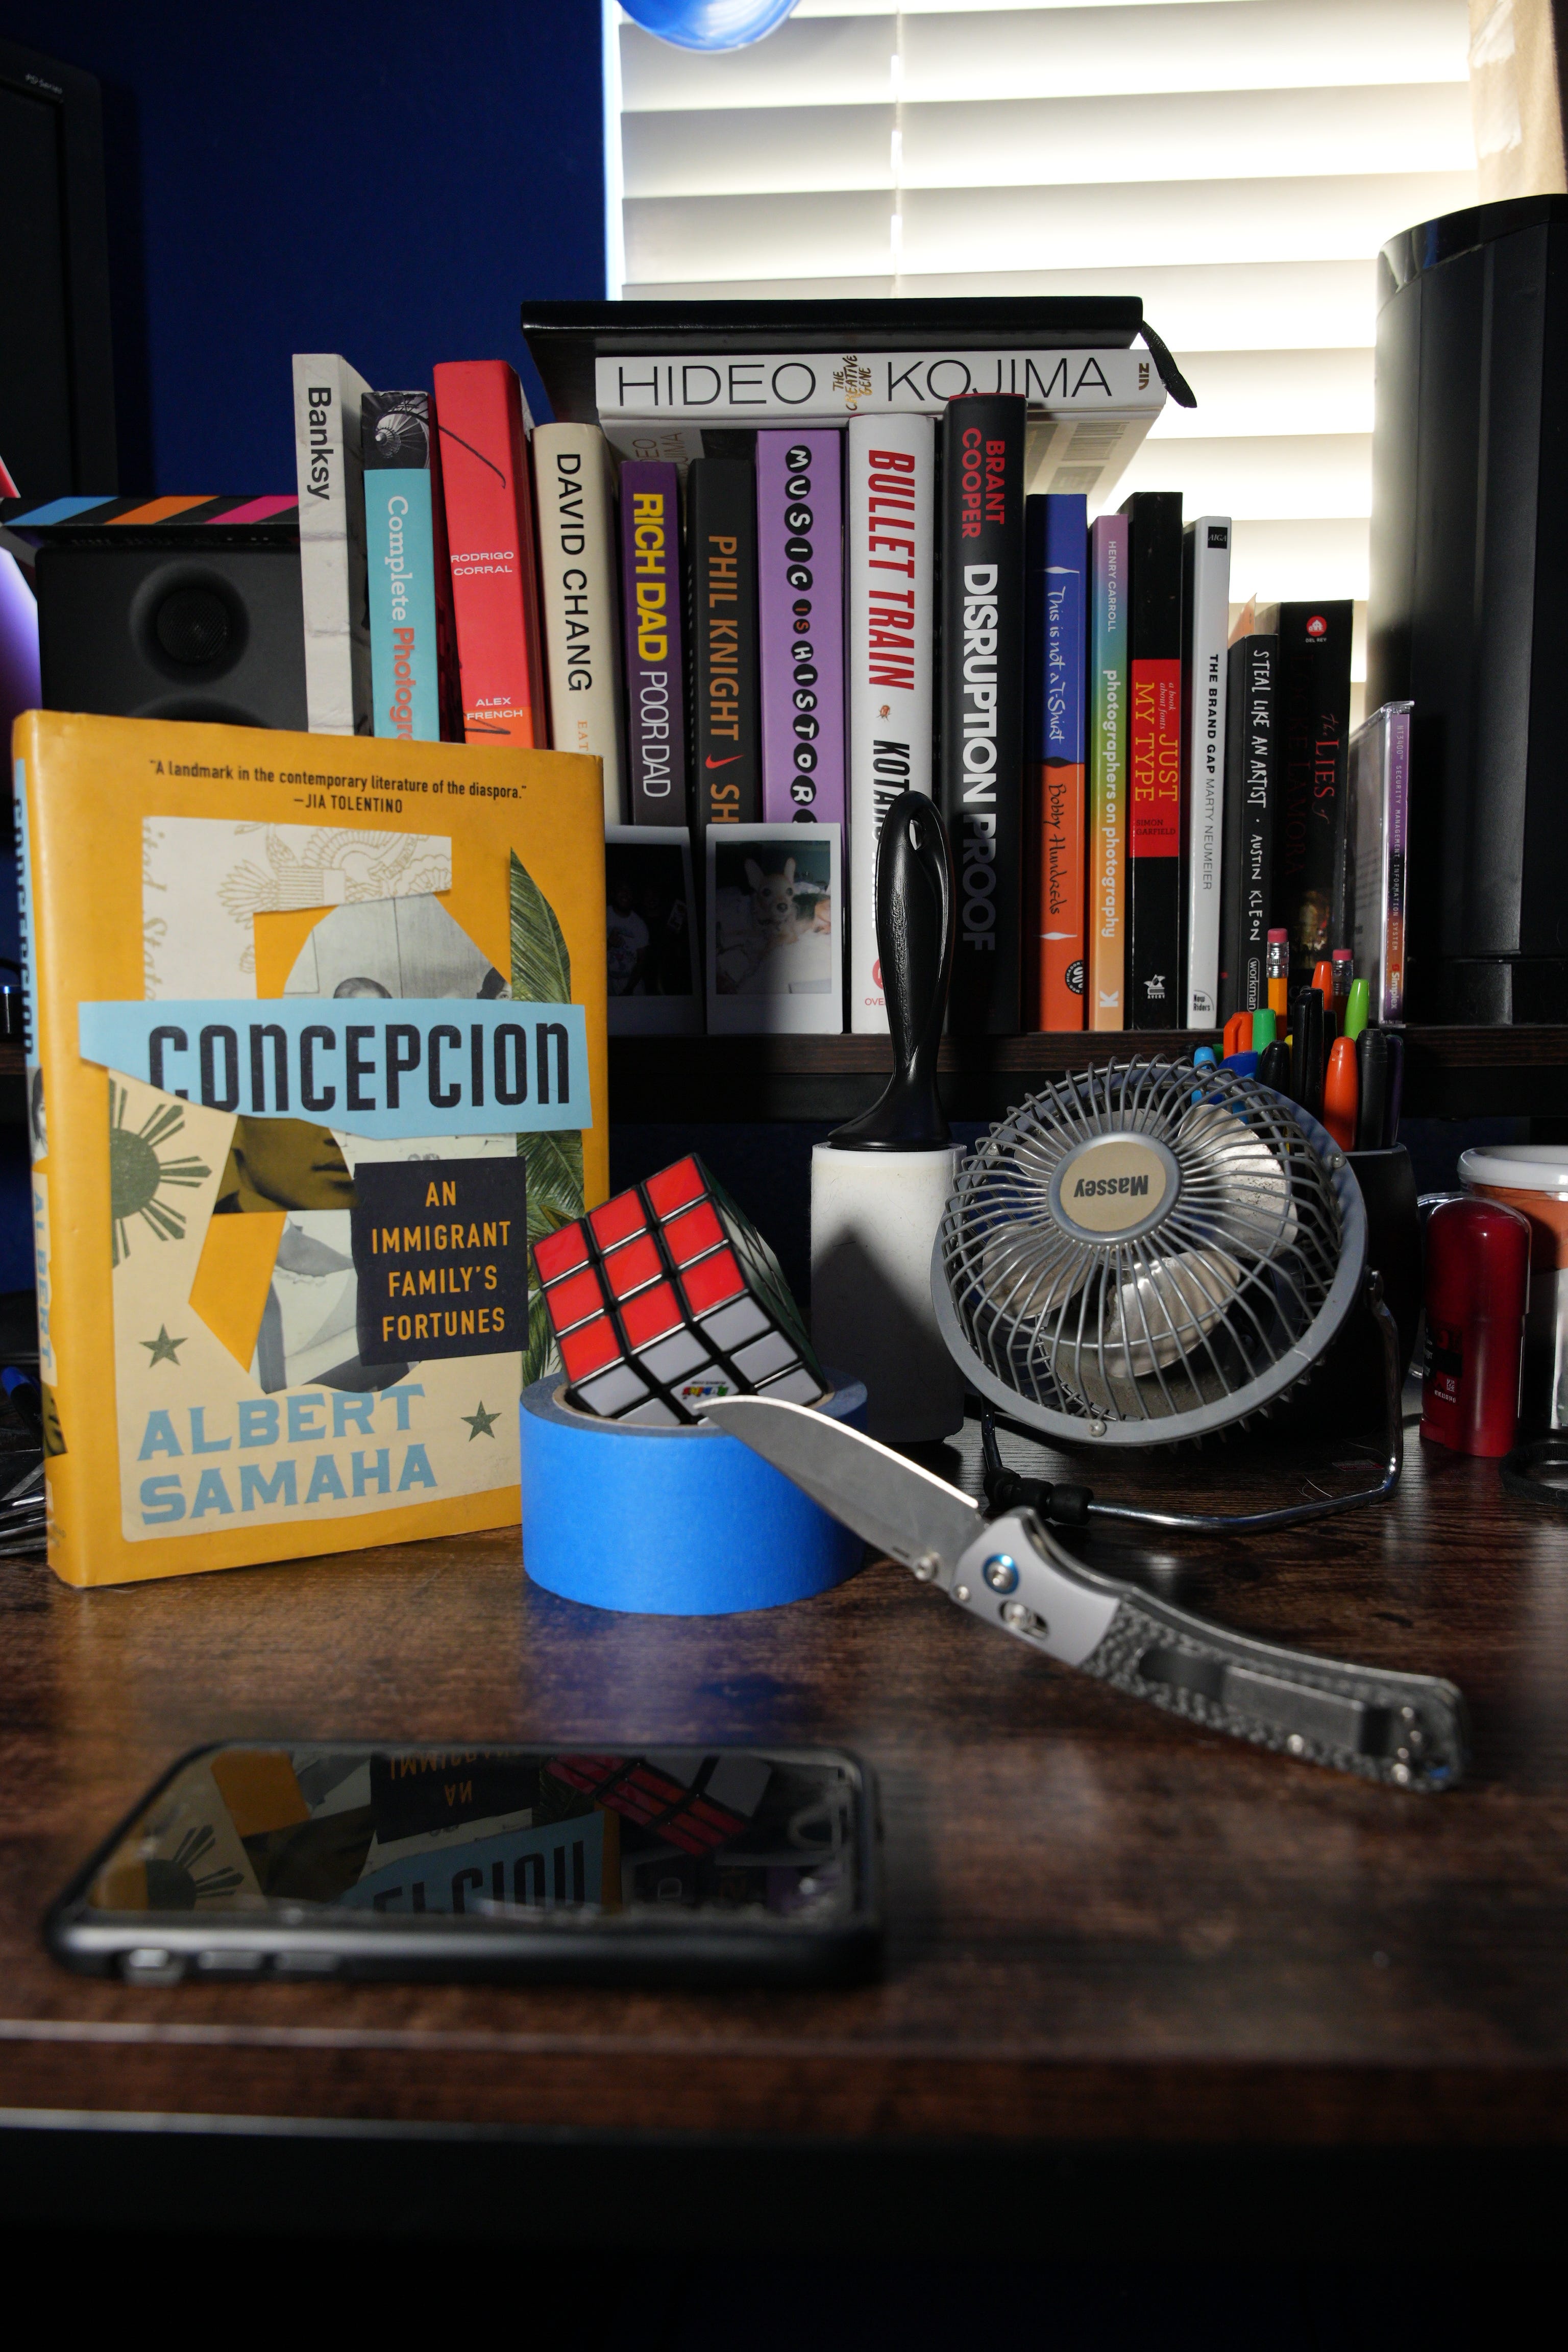
Now I’m holding and moving the lamp around to see where I like the shadows.


I think the 5th one is my favorite one.
So that’s the exercise! Start with something, see how you like it and rearrange. If you want something to be closer to the frame, move it. If you don’t like the shadows, adjust. Then see what you end up with. I’m going to mess around more and see what else I can come up with.


Things I’ve learned while doing this challenge:
Lighting is key! Move your light around and see what different type of lighting can help your photograph.
Layering can help create a more dynamic photo. Stagger your objects within different layers of the photo create depth.
Have different objects of different heights and shapes. It creates more visual intrigue than having everything be similar.
Some regular photography tips:
Have your objects angled to the camera. It creates more dimension in the photo.
Decide what your subject is in the photo and place the other objects around it to compliment your subject.
If your shadows are too harsh, you can place like parchment paper in front of your light to create a softer light.
Add in another, weaker light from a different angle to fill in your shadows. Your main light is called a “key light” and your secondary light is called your “fill light”.
Conclusion:
Still life photography allows you manipulate everything within your photo. You have full control as to how everything will look. It’s a great place to really get to know photography and how to build a good photo.
You can learn many concepts of photography through this exercise. Take time to build a strong composition. Look up different concepts of composition and practice them through still life. Take time to learn lighting. What would this photo look like back lit? What would this look like with lighting from above?
Be curious as to how to upgrade your skills and explore. This exercise isn’t only for photographers too. You can input skills from different creative realms into this. If you’re an illustrator, you can learn more about light interactions. If you’re a graphic designer, you can put your composition skills to the test.
This exercise is for anybody who enjoys creating. Have fun with it and lmk how it goes! Thank you all for joining our little club here. I appreciate you and the time you have taken out of your day to just go through this piece.
See y’all in a few weeks!
-Much love,
Troy