

Creating and Curating your own Photography book
Many different processes in making a book, here is how I made my very own personal photography book.

Let me get this out of the way: I am no expert in photography books or making books. This is all through what I’ve experienced and learned from others and a few tips and tricks. Also, this would be just a quick summary of the five steps of I made a book. I can also go into each step in-depth, but for now, it’s five steps!
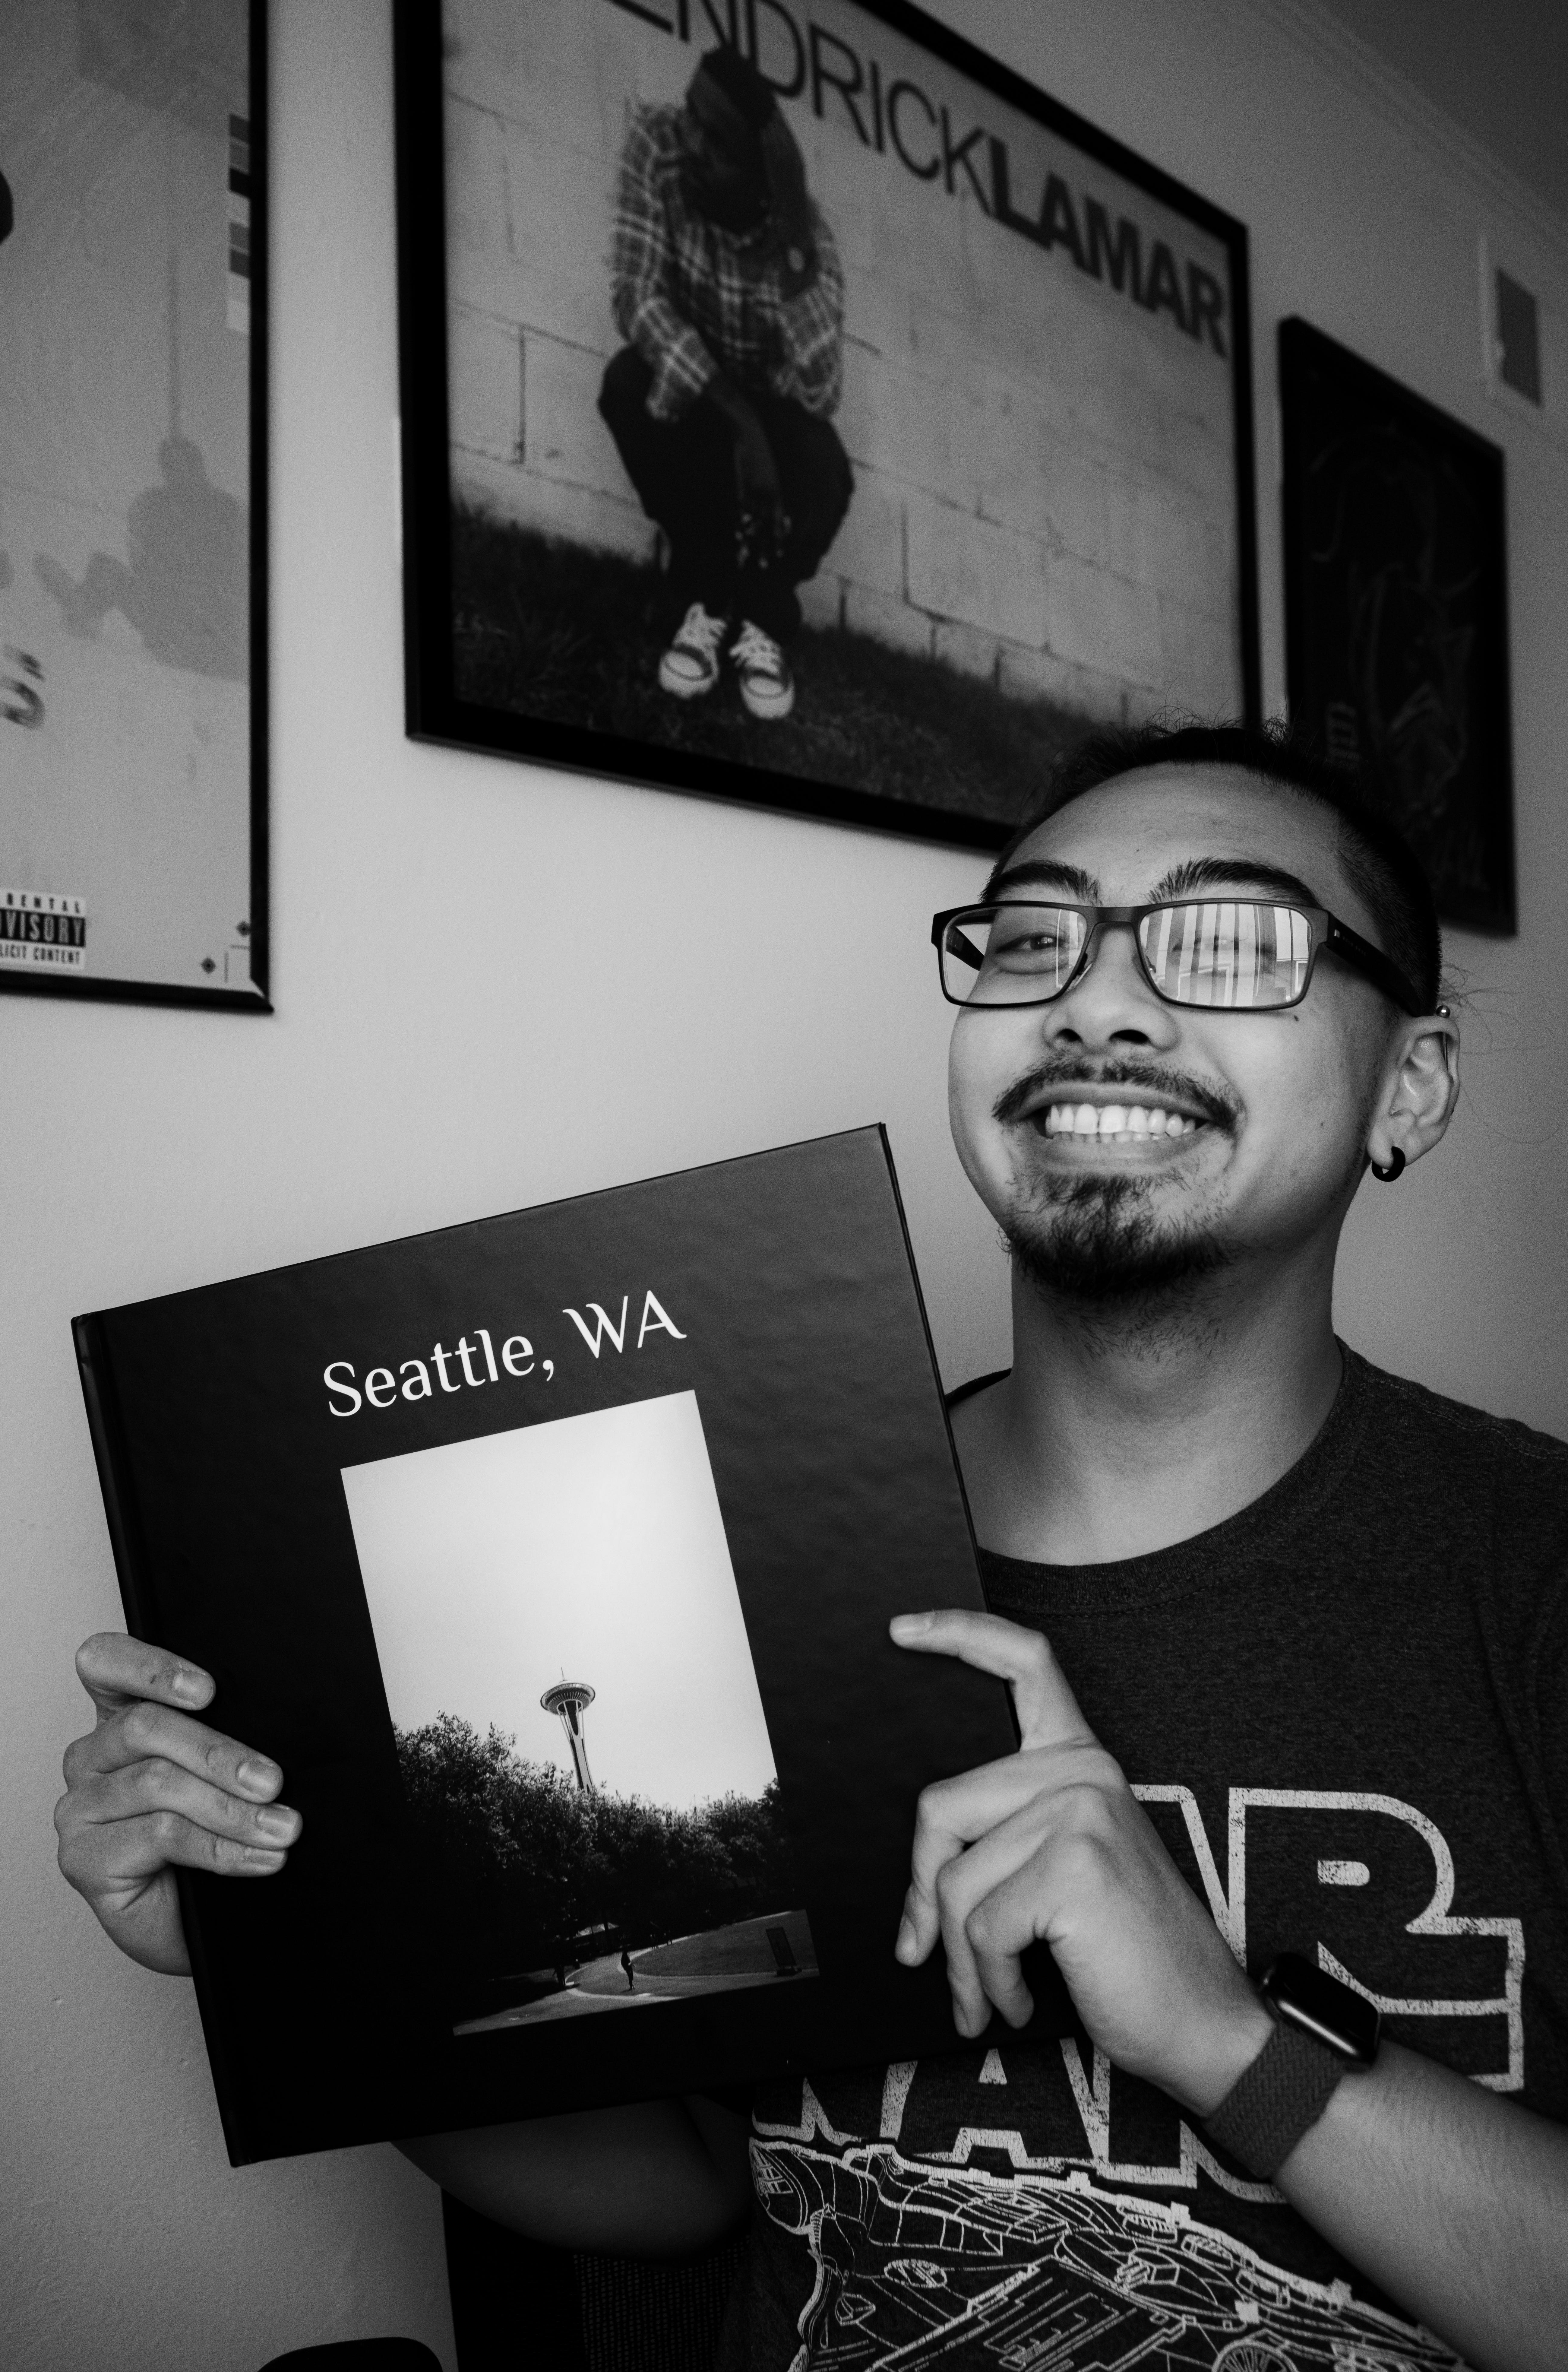
This is my book! A little back story here: my book was inspired by the beauty of Seattle, Washington, and its amazing people. This was my first trip, dedicating my love for black and white photography. I wanted to challenge myself by creating this book and seeing what I can learn from seeing my photos go from digital to physical print.
For me, photography books are vital cornerstones to my learning and improving my photography. Now, it’s not like it taught me how or what to do. However, it taught me sequencing photos and learning that you don’t need all “banger” photos to be in a book. Thats right! Instagram or any social media has trained us to post the BEST possible images, which is good sometimes but not the most effective technique in curating a photography book. Some photos stand so much better alongside a picture that may complement each other because of page playing (selecting photos to share a page next to each other).

Step 1 - Selecting a body of work
You can go many ways in selecting a body of work. Of the more classic ways is choosing all the photos or artwork you’ve created within the year and curating that. Another possible way is utilizing your Adobe Lightroom, and if you tag your photos, you sort by using one tag, which can help create a different set of images such as friends, family, and shopping carts. Yes, I take photos of shopping carts; there’s such an exciting story on how this shopping cart got here. Look at this body of work and sort through these photos. You may be able to find something worth giving a try.
Step 2 - Flagging and tagging photos
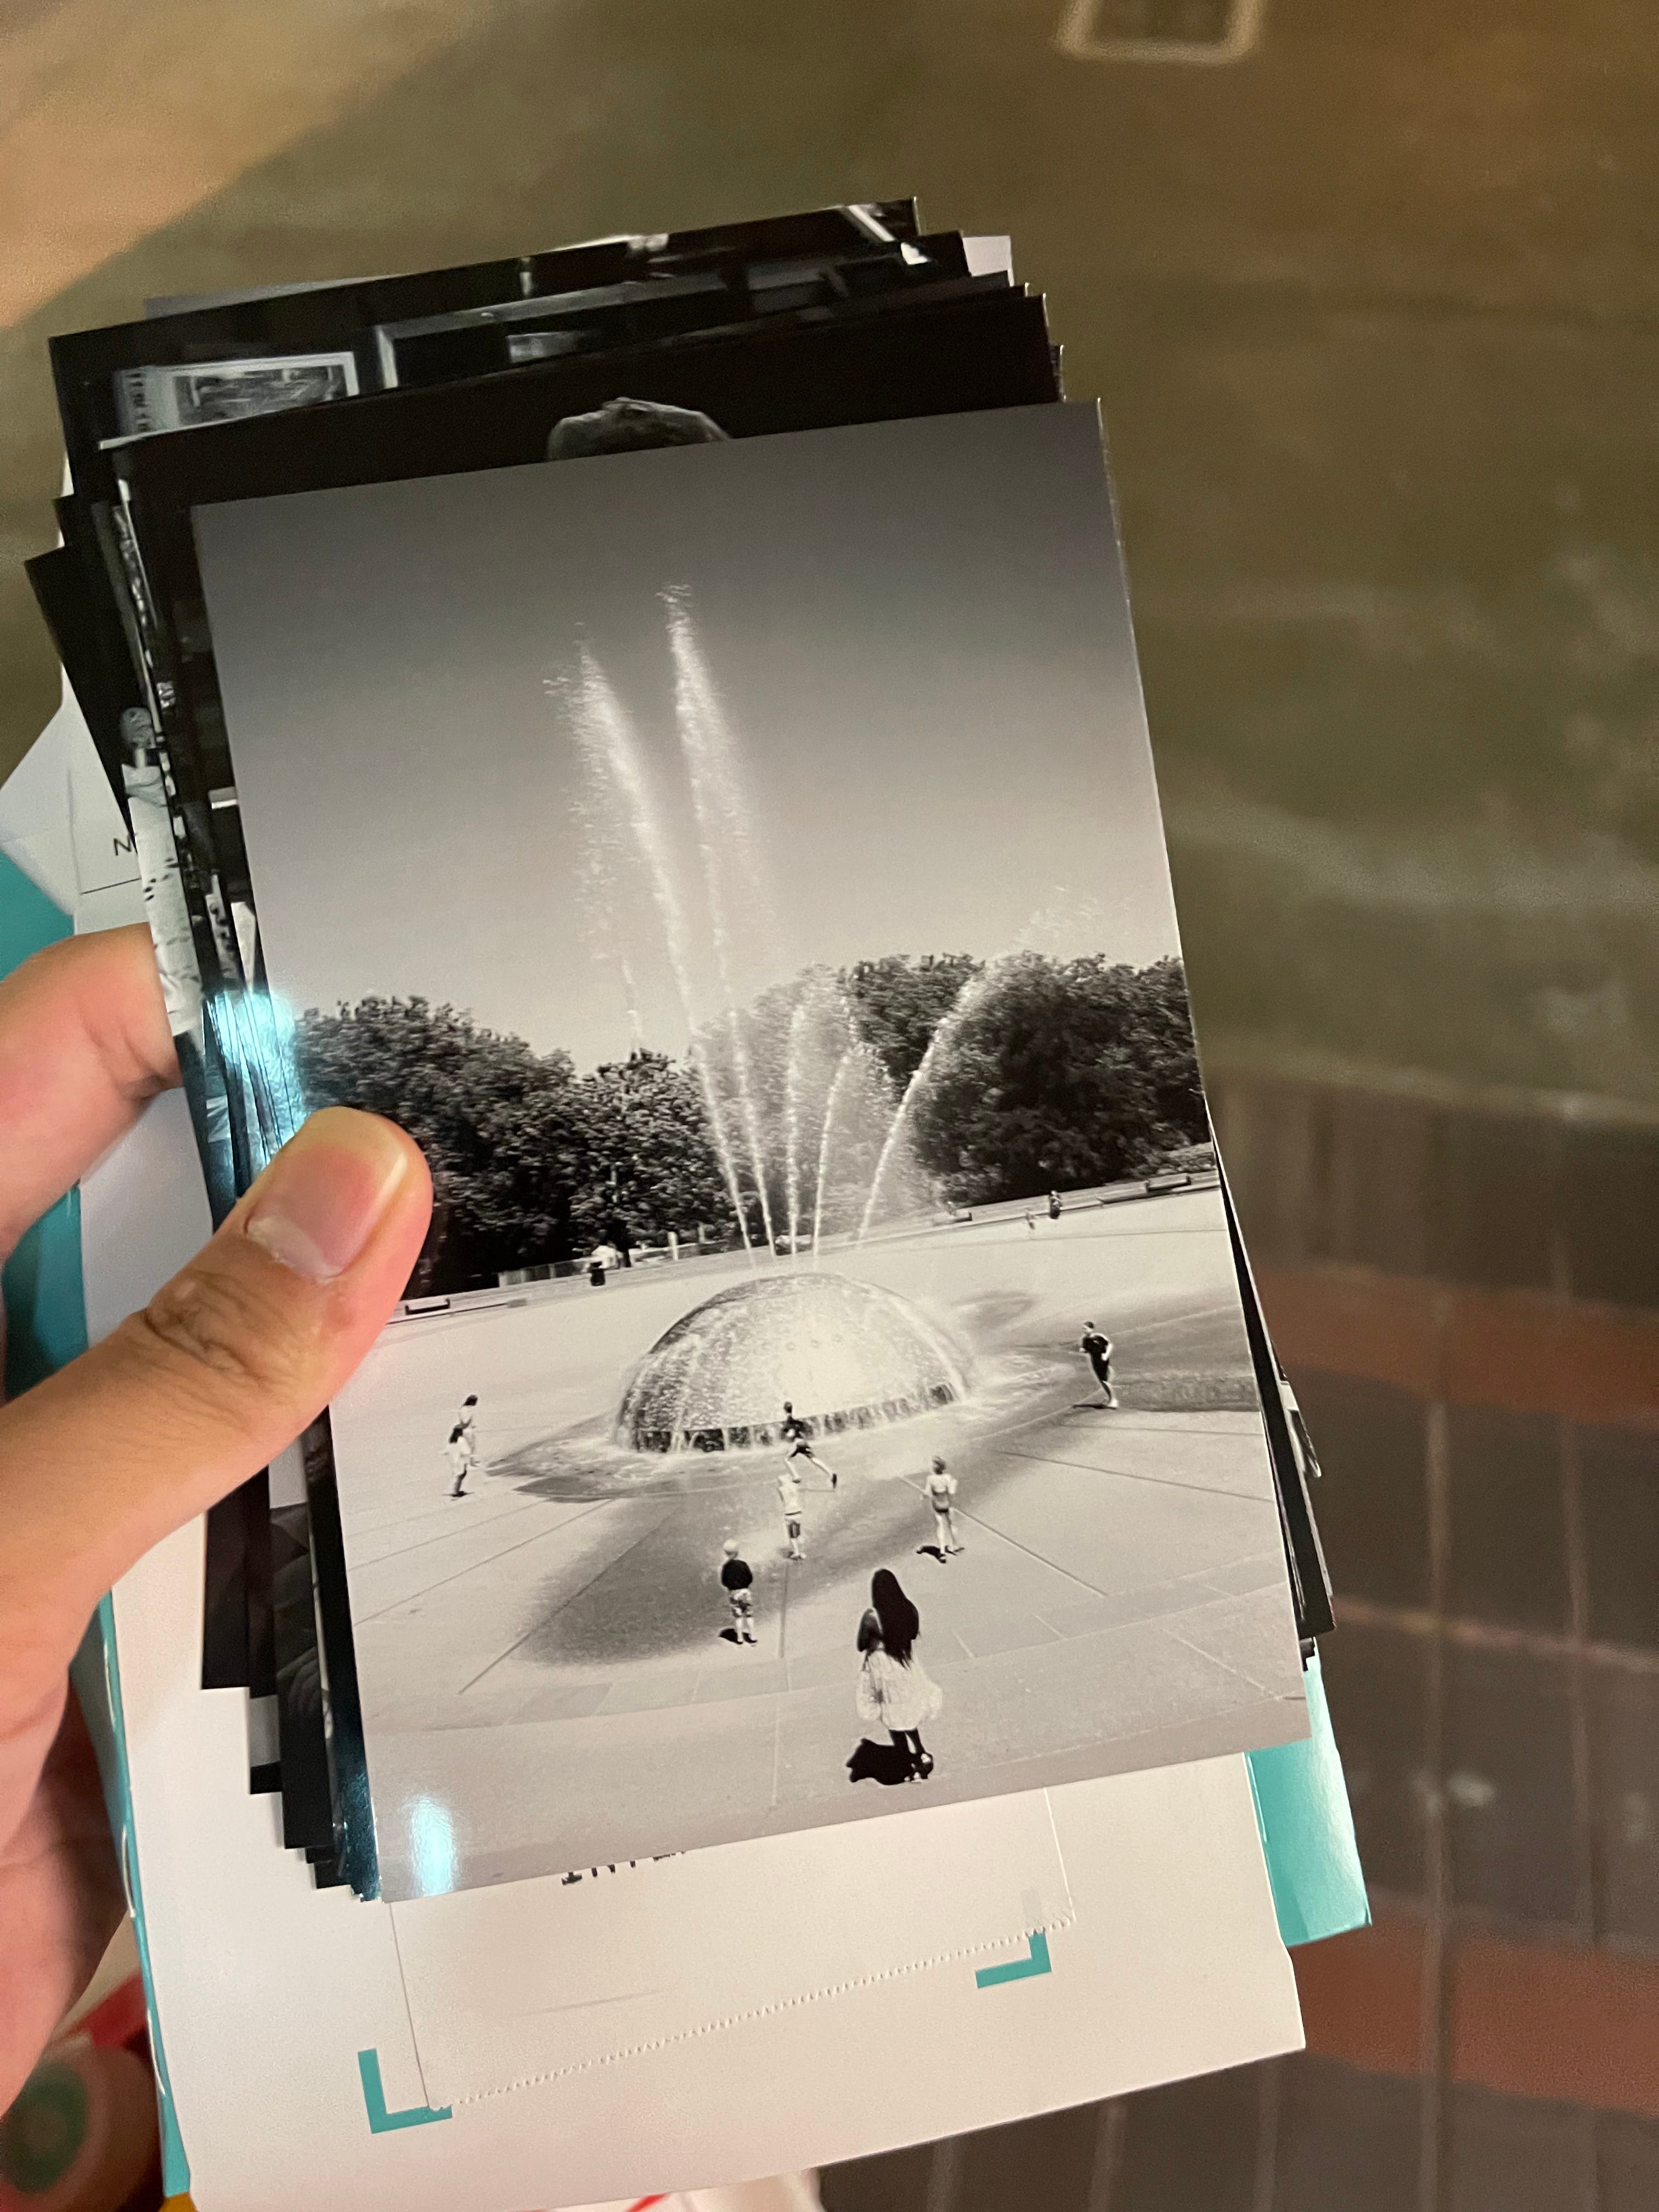
This part is quite fun as this is where you start shuffling through all the photos you have. If a picture catches your eye and looks good, I give it a one-star rating. If you have Adobe Lightroom, you can start a photo by clicking one on your keyboard. With this one-star rating system, be generous with sorting through your photos. There is no limit to how many goods compared to the bad or vice versa. It’s all about sorting and seeing what photos you like or not. Once you have all your selected photos, please print them all or sort them all out. I’ll explain why in the next step!
Step 3 - Curating your selected photos
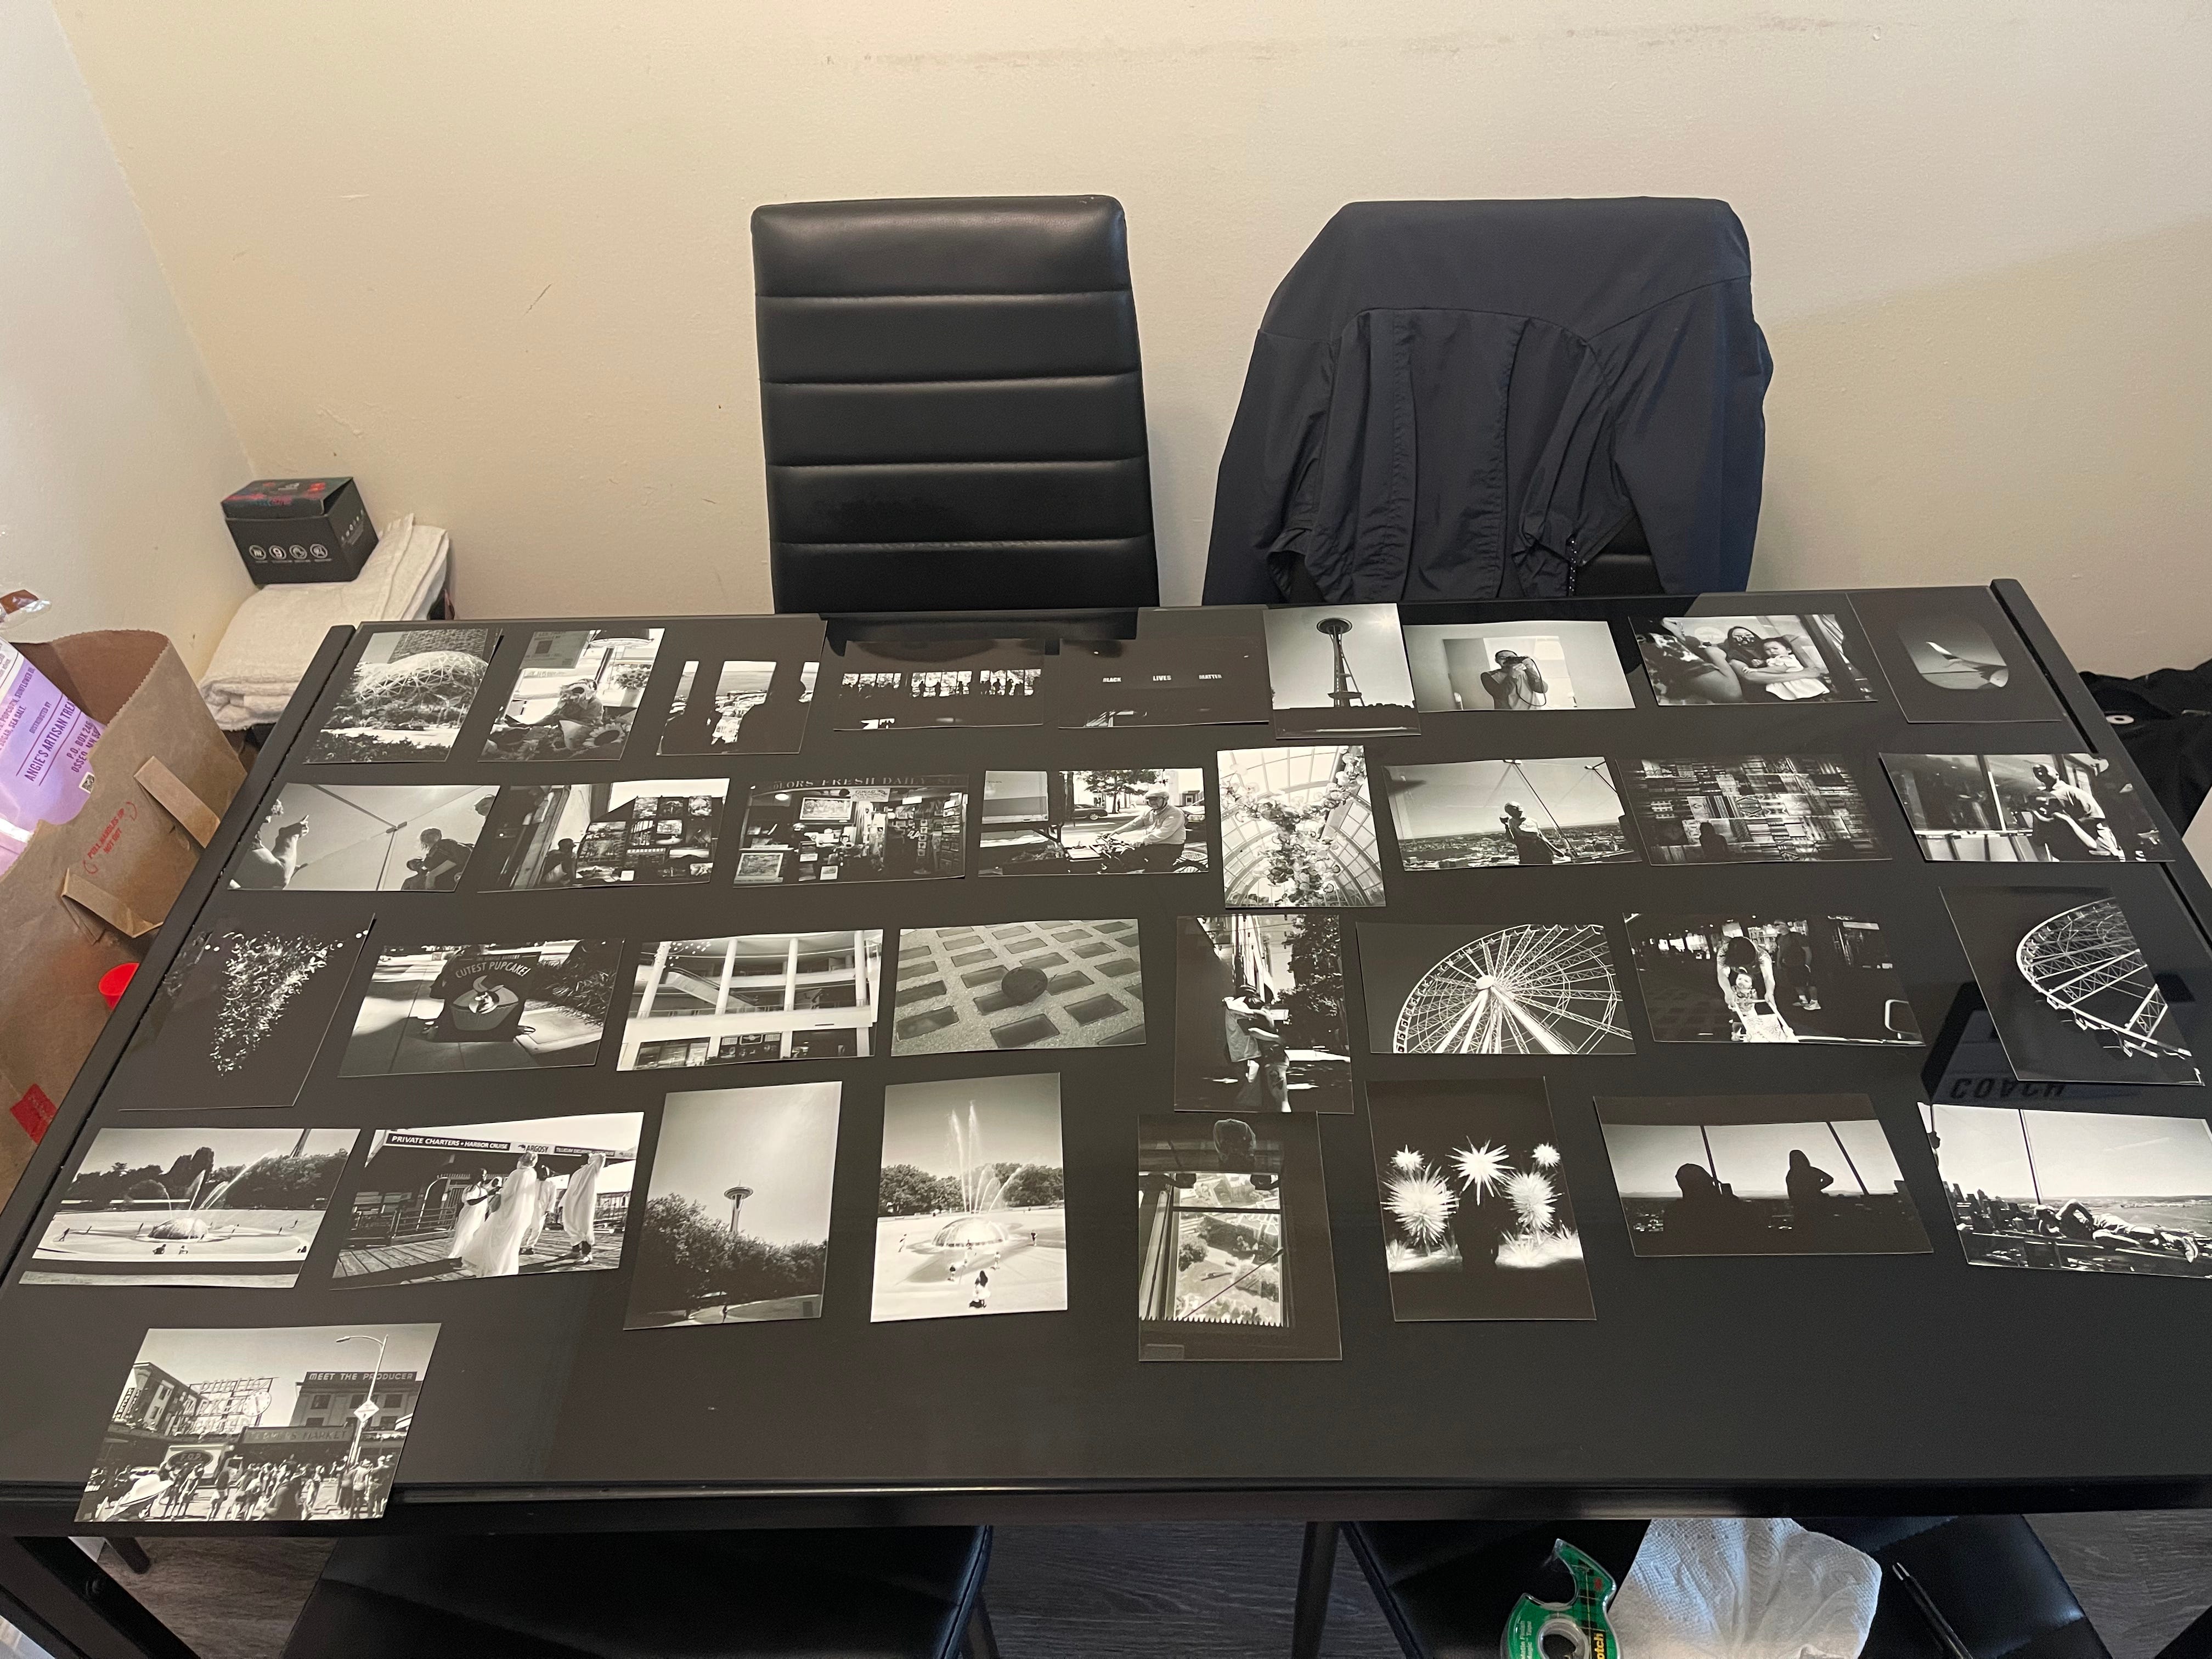
After you’ve printed your photos, I would like you to lay them all out on the floor or where you can see all of them at once. No matter how many images you have, I want you to take a moment to appreciate what you have laid out in front of you. It’s hard to be a photographer, and creating a book is not an easy feat but an awarding one. Now, look at all your photos and give them a three-star system rating. Not a five-star rating because, with five stars, you’re looking for the best of the best; that’s not what we’re here for. As I mentioned, we aren’t looking for crazy amazing photos here (unless you can then go crazy!). A selection of three-star images can make a beautiful photo book. I look at three-star photos as photos that give me a good composition, a little story, well-placed lighting, human/object interaction, use of color, or express you as an individual. Now, you shouldn’t be aiming for several photos here because it may depend on how many one-star rating photos you may have.

Step 4 - The Sequencing
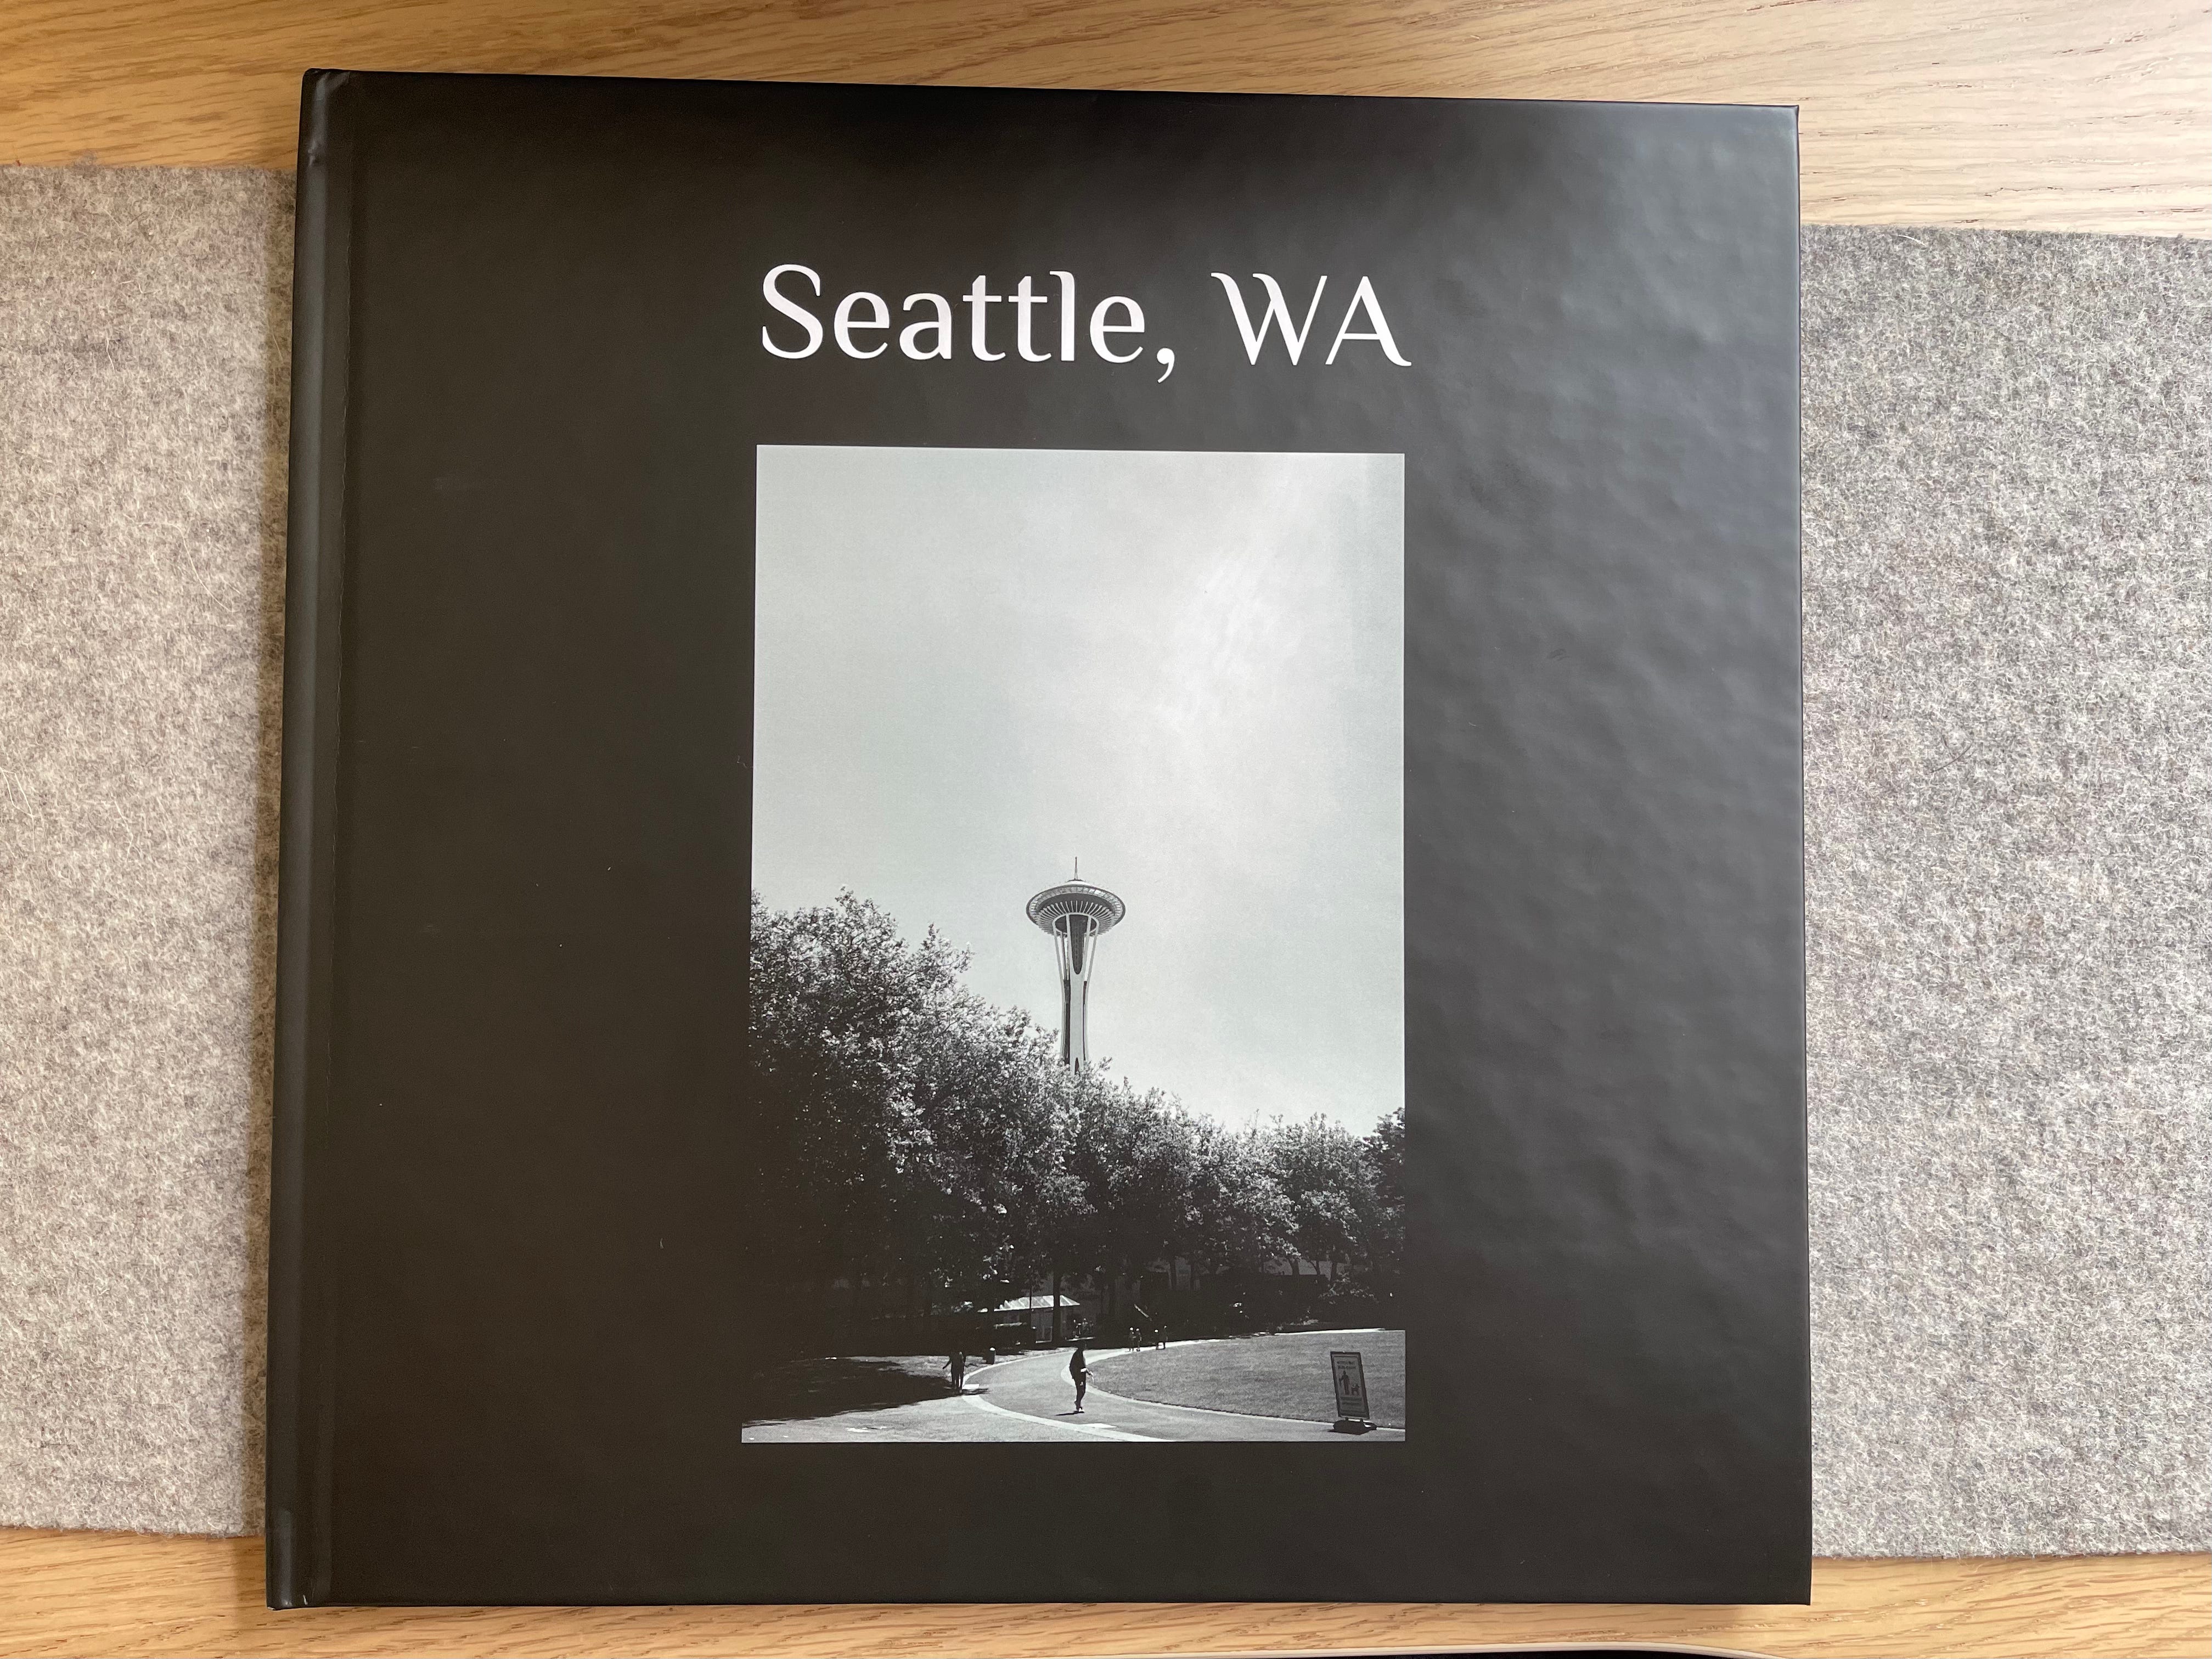
Squencing! This is it. Looking at the sequencing of the photos is really up to you. From the video above there are numerous ways of sequencing your photos. Narrative or chronological and maybe both! Looking at the photo above, I sequenced mine chronologically, however each page had its own relative story of how I experienced Seattle. Some pages we’re unique having its own story compared to pages where there was another image that complimented one another. Sequencing is up to inpretation.
Step 5 - The Expression
Lastly, the final piece to the puzzle. The last question would be “how will this body of work be best represented?”. Looking at if you would prefer a zine, hard covered book, and or a photo album. Once you’re at this last step it can seem overwhelming because there are so many choices, however I would always recommend something small. I generally love small photography books because I enjoy carrying them around with me. Whenever I take photos, I keep a small zine with me for inspiration. Its also economically cheaper compared to hard covered books, but the choice is ultimately yours! Again, I’m no professional, just my own experience! Watch the videos I’ve attached as they help explain on how-tos, dos & don’ts.
Summary - Here’s the next chapter!
Next chapter… get it? Chapter because we made a book? Okay. I know this is a process, however, I would highly encourage you to make a book or a physical portfolio of work. In a digital age, the physicality of objects brings so much life in the things we create. Despite only making only 1 copy of my own book, I enjoy sharing it with friends and family. I personally learned so much about myself both in photography and project completion. Not all books are create sequel. Give it a try and enjoy the process of it all. Take your time and set yourself a deadline. Maybe start taking collecting photos now so same time next year a book can be created! Cheers to you for reading and watching this!