

Digitalize your handwriting! (#17)
Create a personal font


Comic Sans, Impact, Helvetica, Times New Roman, etc. etc. etc.
They’re all fonts (or typefaces) that we have grown to understand and see within the creative programs we use. But there’s one font that you are the most familiar with that you can’t find on the digital screen; your handwriting!
If you’ve ever wondered how to convert your beautifully handcrafted organic letters to the computer screen, this week’s prompt is for you!
This week we are going to explore a very basic tool that will allow you to create a font where all you need is a printer, a pen, and a camera.
For this challenge, we will be using Calligraphr. Calligraphr is a site that simplifies the process of creating a font to a few steps.
We are not sponsored in any way by Calligraphr. They may not be the best tool, but they do a good job at lowering the barrier of entry into font building and making it accessible.
Let’s go to Calligraphr. https://www.calligraphr.com/en/webapp/app_home/?/
First thing you need to do is make an account. I know it’s not ideal, but it’s free and you do not need to enter any credit card information.
After that we go to “Create a template”.
Download the template with the helplines on. It doesn’t affect your final font, but helps guide you on where to place your letters.
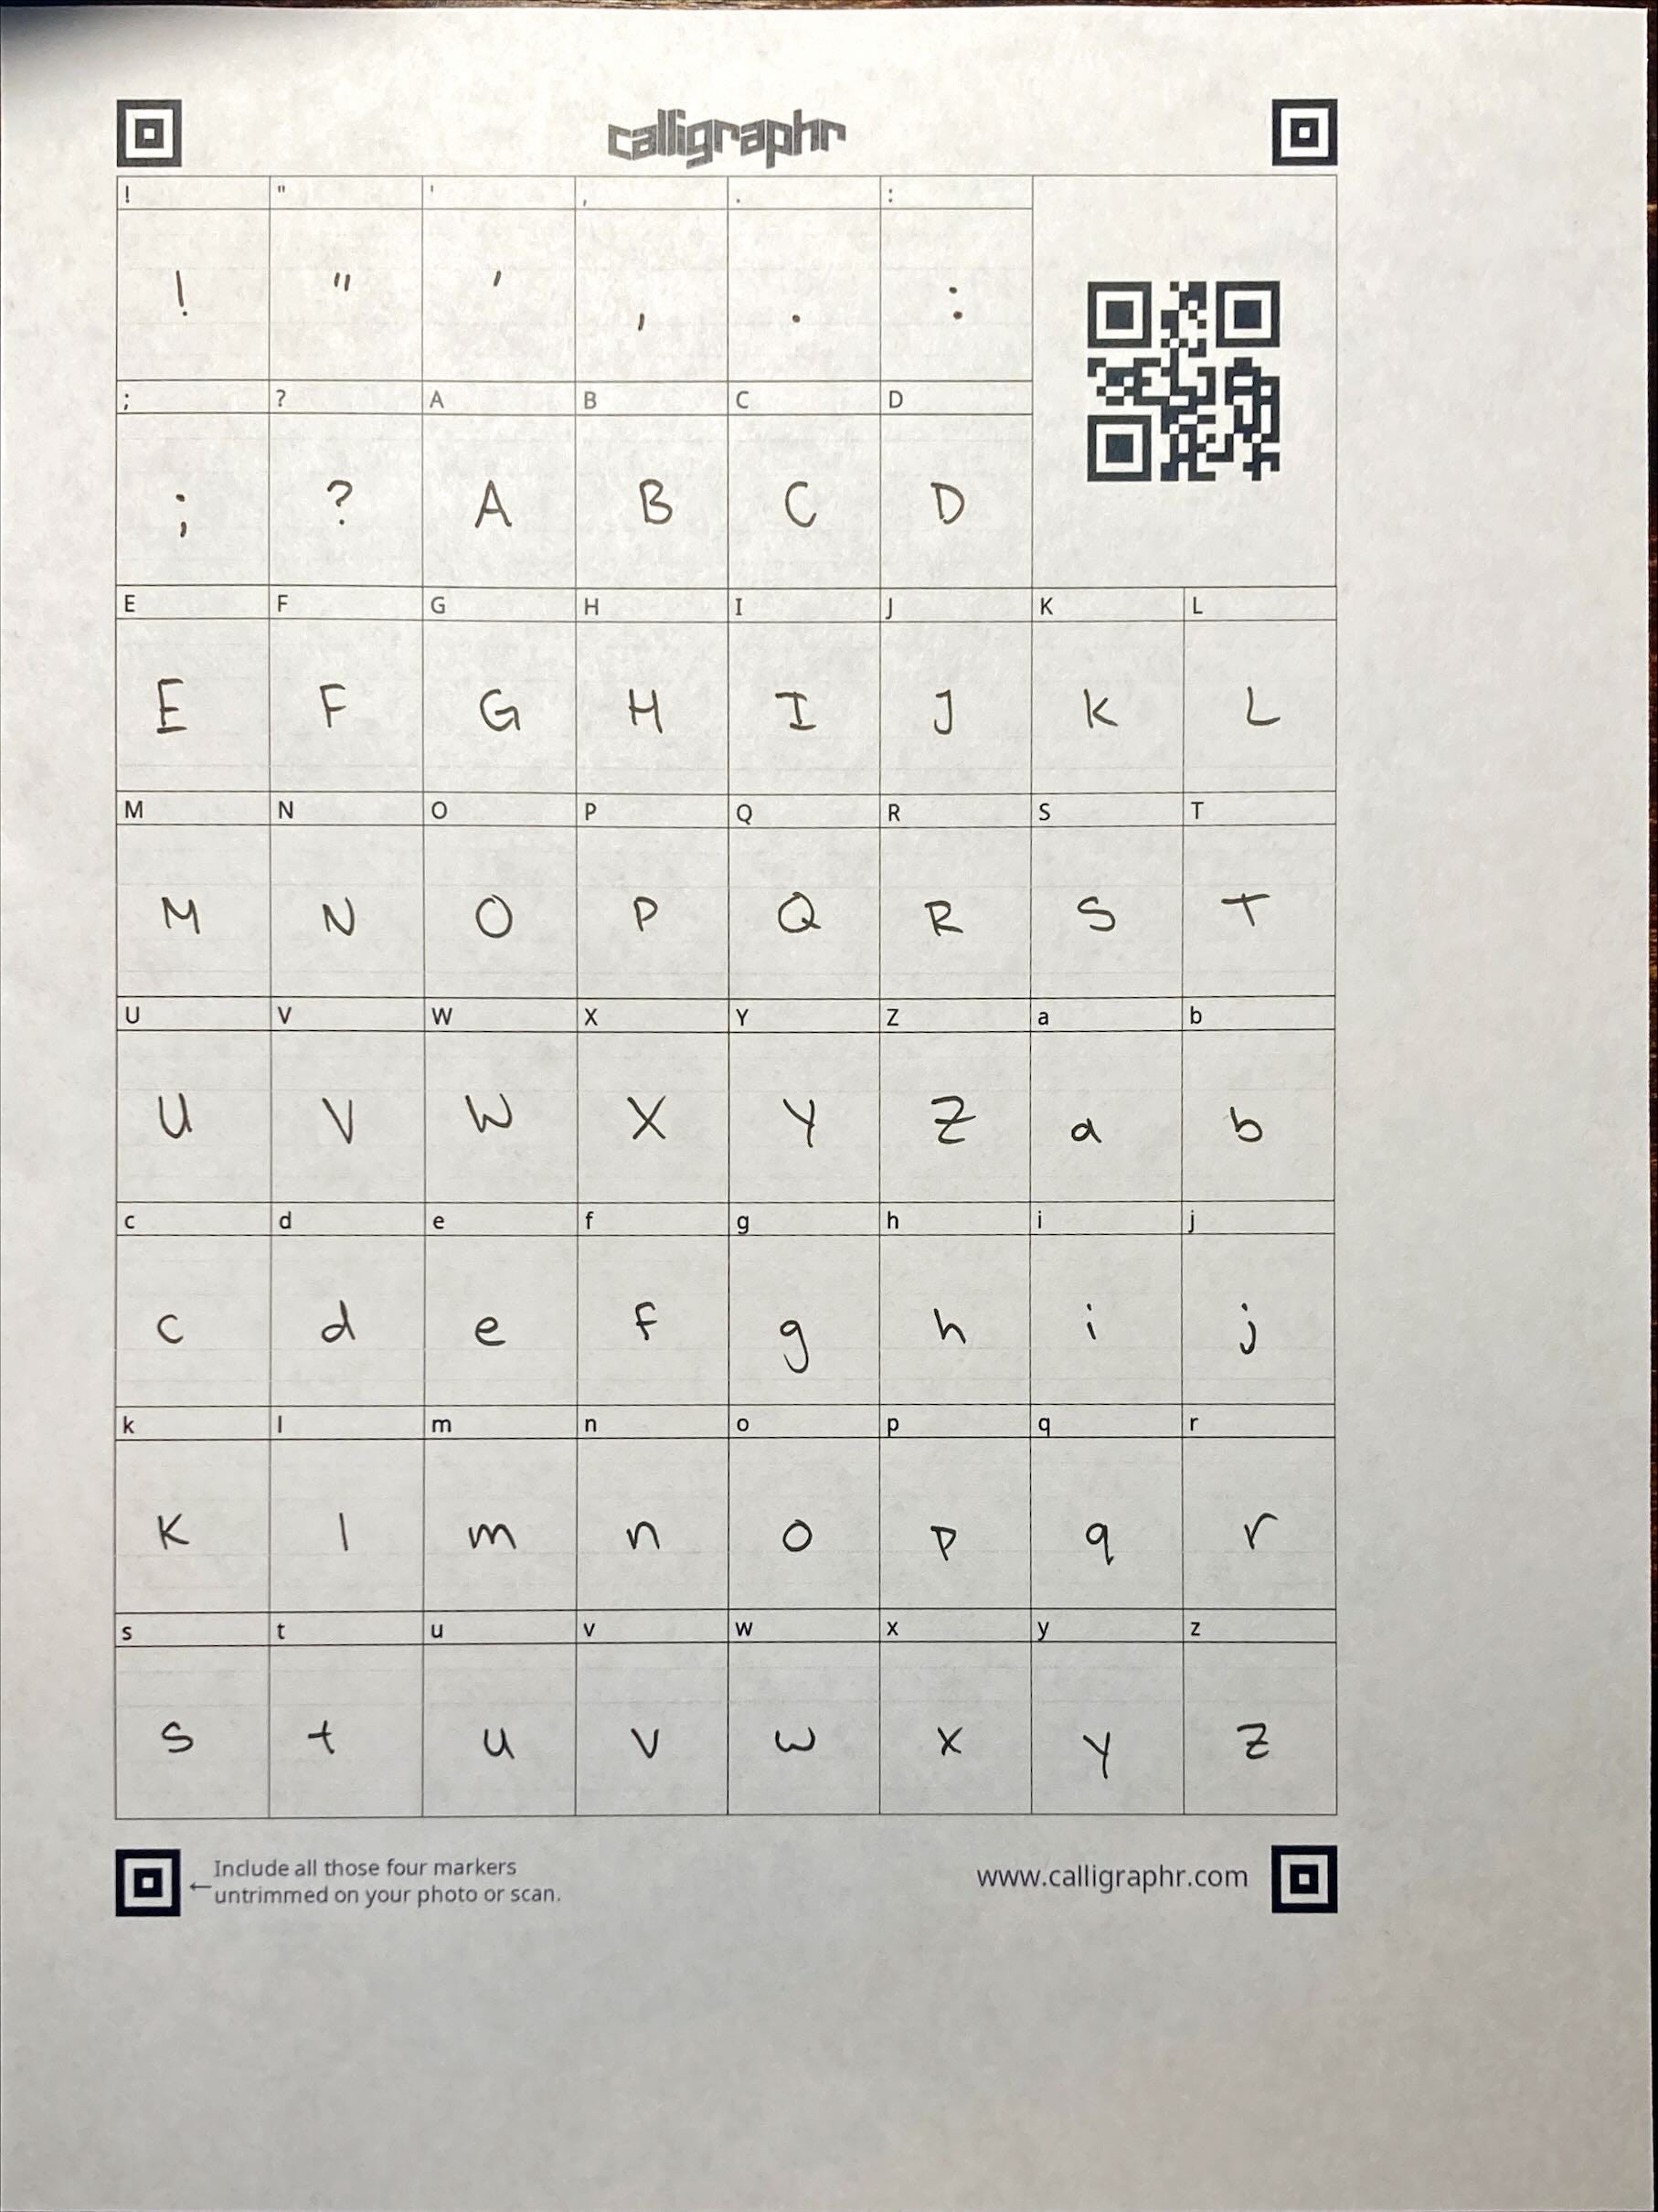
Print the guide and fill it out. Here’s what mine looked like.
Once you have it filled out we have to scan the paper. If you have a scanner use that. If you do not have a scanner, you can use the Microsoft Lens app! It’s a very useful app that will reorientate your image of documents to be head on and straight. Completely free as well.
We are about halfway there!
Send that image back to your computer.
Go back to Calligraphr and we are going to go to “My Fonts”.
From there go to “Upload Template” and upload your image of your font there.
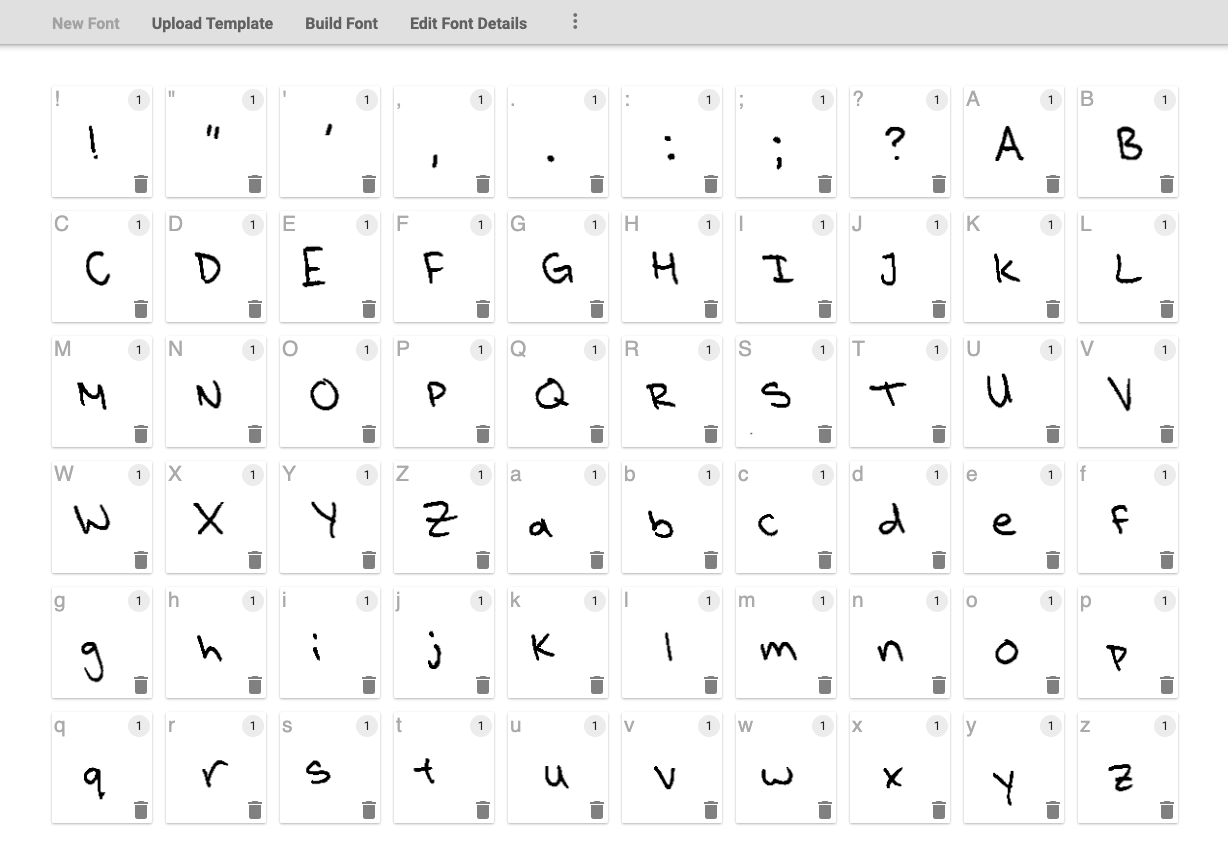
Your page should end up looking like this.
From here, we press the three dots at the end of the tool bar. Then press “Adjust baseline”
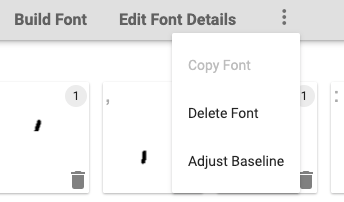
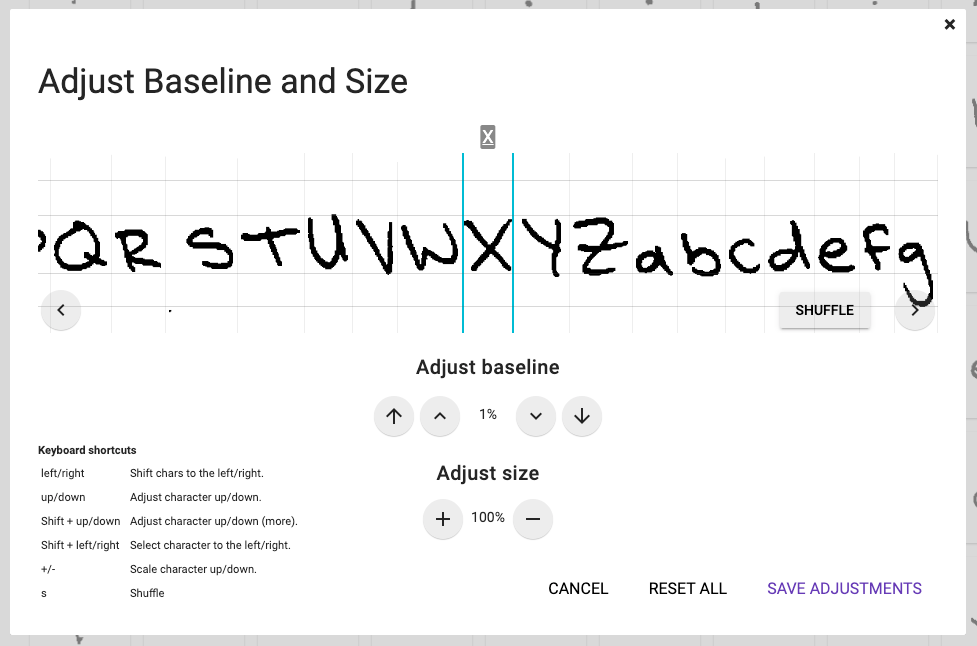
Now we just go through the different letters and adjust the baseline to make sure all of the letters are sitting on the the baseline. Save those adjustments.
Press “Build Font”. Name it. Press “Build”. And now you have your own custom font for you to use however you’d like! Just click on your font file and it will download straight to your computer!
That’s about as much as we can do on the free version of this app. You will have to adjust the kerning (the space between letters) and leading (the space between lines) manually in your digital apps, but you now have a free handwritten font!
This is just the most basic way to get started. There are a lot of other tools out there that if you’d like to explore this further. A good place to start to learn about the different tools is in this video by Ian Barnard who makes a living building his own fonts.
Learning how to make a font has always been an interest of mine. There are so many new fonts that are being created and discovered every day; but how do those artists get their fonts to be usable with the rest of the fonts we know and love? Well, now we know. Will I be creating more fonts? Probably not right now, but at least if I do get that itch I’ll know how to scratch it.
Have a great Monday! We’ll have another creative challenge in 2 weeks :)