

S T O P M O T I O N (Challenge #5)
Animating the inanimate

If you don’t have respect for stop motion animation, you’re just a hater. Stop motion is one of the most tedious mediums of creation you can dedicate yourself to. It can take hours upon hours of meticulous manipulation in order to get a clean few seconds of animation.
.
.
.
With that said, let’s make a stop motion animation!
Stop motion is a fun medium to experiment with because the barrier of entry is very low. All you need is a camera and some objects. But, the ceiling of what you can create through stop-motion is really endless.
Here’s Wes Anderson speaking about his journey with stop motion through his past film, Fantastic Mr. Fox.
We don’t need to do anything too crazy for this challenge. Just get up and dedicate some time to animating something for fun. There doesn’t need to be any purpose to it.
Stop motion is fun. It can be a little overwhelming, but once you get going and start getting into a flow you’ll either end up with something you’re happy with or something you’ll laugh at. Either or, just have fun with the process.
I use to have my students do stop motion animation all of the time. The youngest at 7 years old to the oldest at 18. So don’t think you can’t do it or it’s too overwhelming. Just create. If it’s shit, who cares?! Let’s just have some fun!
So let’s begin!
Equipment you will need for this:
A smart phone or tablet with a camera
The app “Stop Motion Studio” (it’s free).
Something stable to hold your camera in the same place
or you can use any camera and edit with a video editor. If you’re just beginning and just want to experiment, I recommend using the app. It’s easy to start and follow.
This post is not sponsored by them btw, just a fan of their app.
For the beginners
Let’s open up the app.
Press “New Movie”. Allow the app access to your camera and let’s get started.
Here’s the UI for Stop Motion Studio:
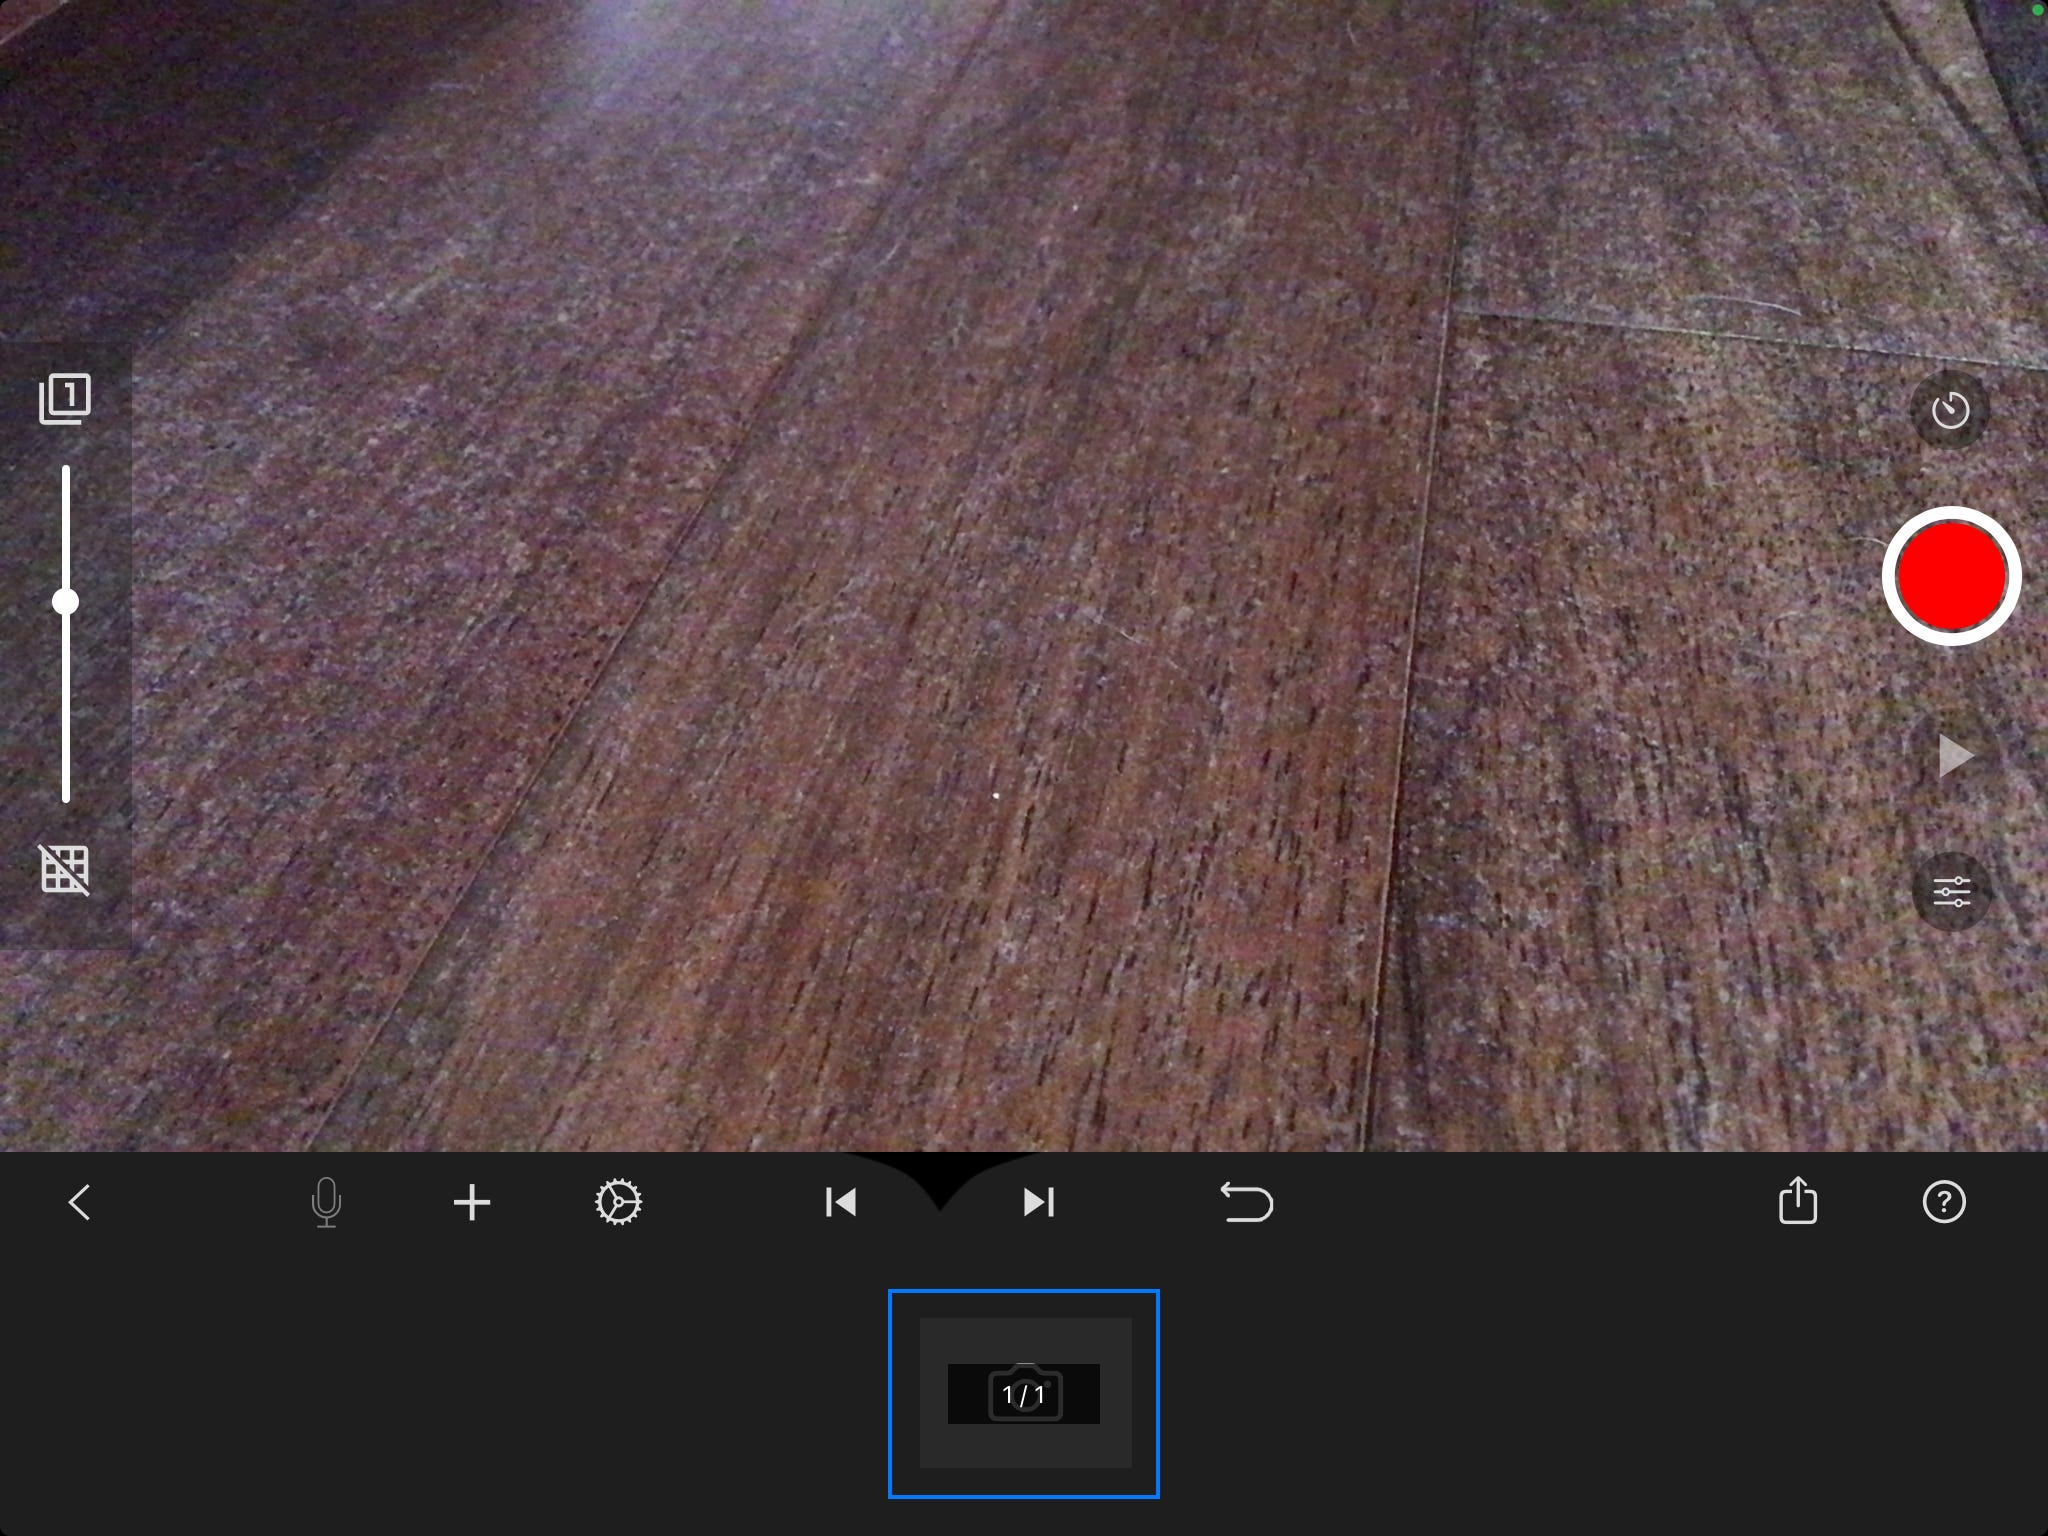
On the left we have your onion skins and your rule of thirds guidelines.
Onion skins show you the previous frames that you took. On the onion skin guide there’s a “1” because it will show the previous frame beforehand. If you tap on it, it goes to “3” which will show the previous 3 frames and so forth.
The bottom icons aren’t really necessary for what we are doing right now.
On the right we have the timer, the capture button, and the play button. The timer is just like your regular camera timer. You set that and then when you press the capture button it will count down and take a picture when the timer reaches zero. The red button captures your frame. The triangle pointed to the right plays the animation.
So now that we have a basic gist of the program let’s just animate something.
Set your camera up somewhere stable and grab an item nearby.
What we are going to do is use place our object inside of the frame, take a photo, and move the object incrementally after every frame we shoot.
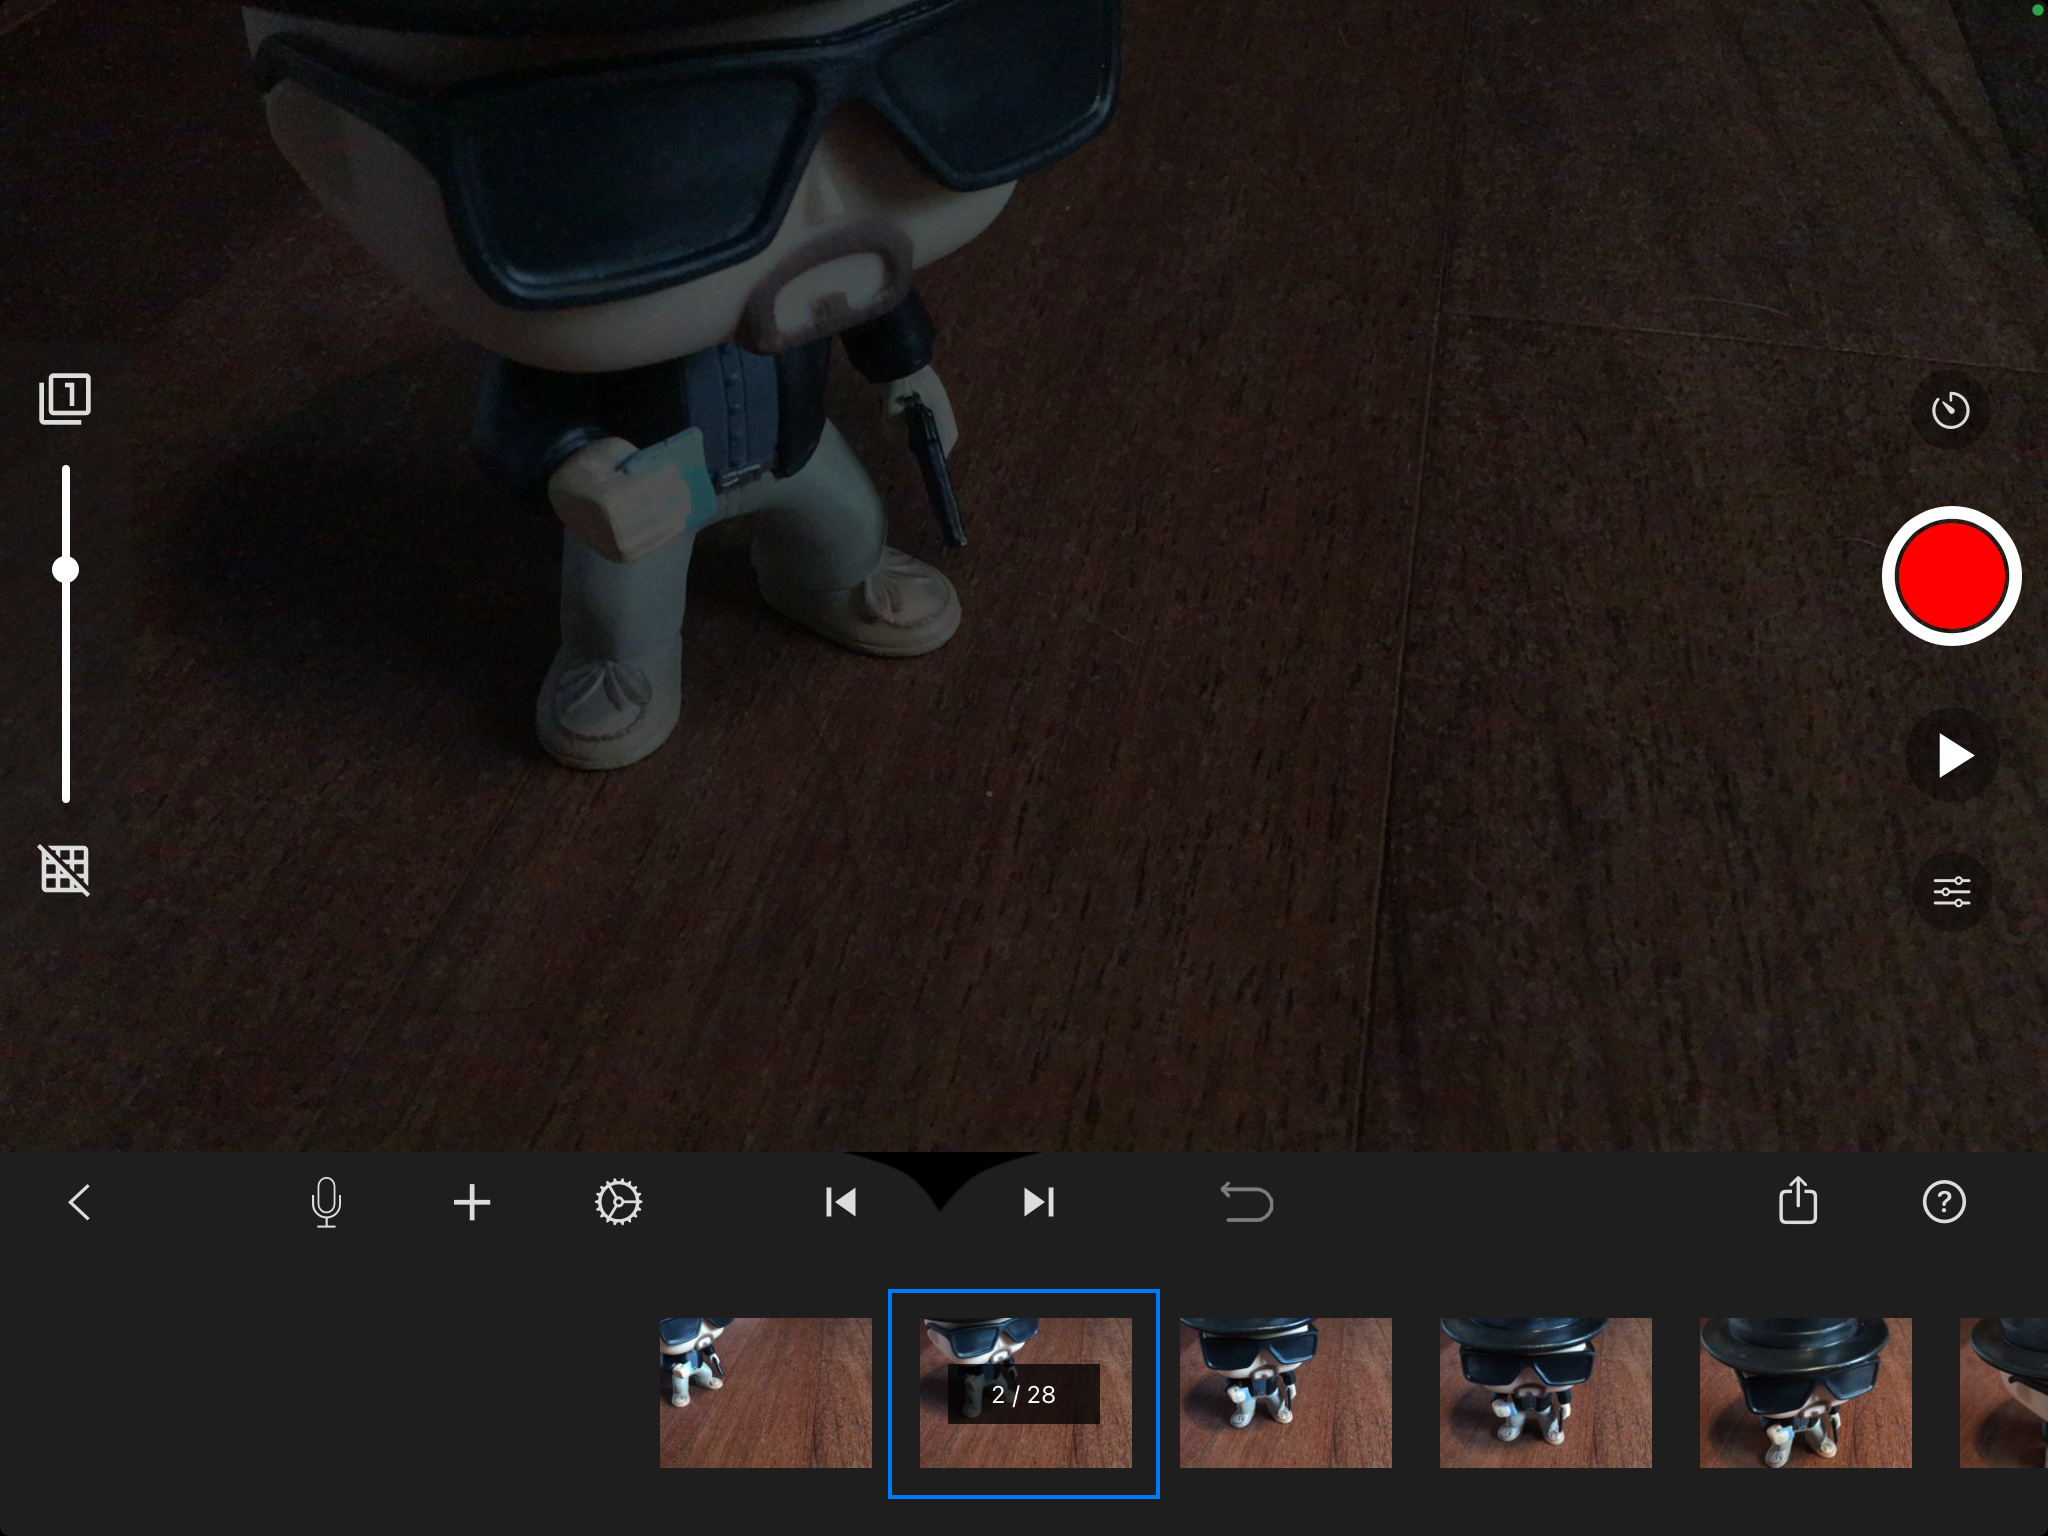
I have this Pop vinyl of Heisenberg from Breaking Bad, so that’s what I will be using. After moving the object around incrementally, this should be what your animation generally looks like.
This is a pretty basic animation.
All we are trying to do with this is understand how big of a frame we are working with and how to move an object through the frame.
With this particular set up there wasn’t that much space to really manipulate. Also the object is pretty stiff and took up too much of the frame. Let’s try something else.
This time I went for a top down approach. It gives me more space within the frame and just gives a different point of view.
Premise: Animate the cube to look like its magically solving itself.
For this one, I decided to not have much movement within the frame itself. My hand I tried to keep it in one space and take photos incrementally while I was solving the puzzle. We get a “self-solving” allusion of the rubiks cube. The onion skins allowed me to generally keep my hand in the same place.
This animation was a bit different than the first one since its the details of the object that animates instead of the movement of the object through the frame. Looking back at it I would ideally want to add more of the in between steps into this animation to make it more obvious, but it’s not a bad attempt.
Let’s try 1 more animation with the iPad.
Premise: Animate these pins I have to spell out Creative Club.
I’m going to be honest here, I got a little ambitious hahahah. The only idea I really had was to animate this into “Creative Club”. I didn’t have a plan as to how.
I mean it was successful, but at the beginning I was a little lost. I didn’t know how I wanted to animate the pins into “creative” and kind of just went with it. I did better with the “club” portion because I learned from the first portion.
With the “creative” portion I wanted the pins to move throughout the frame and end in spelling “creative”. You can see that at the beginning. Once I was building the movement, I got lost in figuring out how each letter was going to be formed. I ended up just nixing the movement and went to form the letters.
With “club” I had learned from the first portion and made sure I had a plan for the animation before I started animating. I had the pins separated and assigned to their letters. Then I just had them follow their groups into frame and then whip into their positions.
As you can see, I am absolutely no expert in this field. But, it’s honestly pretty fun to animate with your hands.
Time to try my hand at animating with my camera now.
DSLR/Mirrorless Camera Animation
For this one, I want the quality of the animation to be higher. This isn’t an iPad animation anymore. I want to try and bring forward a better quality product.
In stop motion animation you want everything to be as consistent as possible so it can maintain a “video” like look. That means maintaining a constant looking frame in every shot you take.
Equipment being used:
Tripod
Remote shooting software
Constant light
Camera in Manual mode
For stop motion we want stability, so let’s use a tripod.
With stability, we also want to make sure the camera doesn’t move at all while we shoot.
When pressing the shutter button, the camera can slightly move. It shouldn’t make that big of a difference, but if we can go around it let’s do it. In order to make sure we do not touch the camera at all when shooting, we need to find a way to shoot remotely. I downloaded software from my camera manufacturer that allows me to connect my camera via USB to my laptop so I can shoot remotely.
Google search: “remote shooting (your camera)” and you should be able to find software that fits your model.
Next we want consistent lighting.
In every frame we shoot, we want the lighting to be the same. Let’s close the blinds to our windows to exclude the variable lighting from the outside and turn on whatever constant lights we have. Make sure your happy with the placement of the lights within your frame and do not touch them again. We now have consistent lighting.
Lastly, we want to make sure we lock in our settings for the camera. No auto on anything.
Turn on manual focus and lock in your focus
Consistent shutter speed
Consistent aperture
Consistent ISO
Consistent white balance
We don’t want the camera to change any settings while we are shooting. Make sure you take off anything that is on AUTO and we are all set up.
Now animate whatever you think would be interesting. You can animate a storyline. You can animate different object movements. You can animate post it notes.
All you have to do is take a picture, move your object, and keep that going. Once you’re happy with that, bring it into a video editing software. Import your photos and drag them onto the timeline. Stop motion is usually shot at 12 frames per second. You can do the math from there hahaha.
This is what I ended up shooting.
My animation is very simple. Moved the hoodies and took a picture. Moved the hoodies and took a picture. Nothing crazy. If I had the whole day and some more resources, I could have added more details into the animation.
Like it would be cool to have wire frames within the hoodies to be able to better manipulate them. I could add more personality into the subjects with that.
Who knows, in the future I can look at this simple stop motion and get inspired to make something more complex.
My experience with this challenge
Throughout this day I challenged myself to do stop motion animation and I’m not going to lie to you, this shit is hard. The concept seems simple enough, but to create something that is cohesive is really challenging. It’s a very complex medium.
Challenges arose that I didn’t even think of. Objects were rolling around or weren’t able to stay still within the frame for even a second.
I did expect better out of myself, but I think that is also discounting how tough of a medium stop motion really is. Animators dedicate their whole lives to this craft. They have years and years of experience. Their understanding of the medium is light years further than mine at this moment.
For a one day challenge, I am pretty proud of what I have created. It is not the best by any means, but it is something I challenged myself to do and I went for it.
I have experience in key frame animation, frame by frame animation, but I didn’t really have experience in stop motion. I went into this challenge a little too confident and got humbled. Rightfully so.
Things I have learned from this challenge:
Stop motion is a whole other beast when it comes to animation.
Plan out your animation before you begin. Have an idea for what you want to do. If you really want to succeed, know what you’re going to shoot before you begin.
Don’t over complicate your animation if you are just beginning. Keeping it simple will yield better results.
Understand the materials you plan on animating. How does gravity affect it? Is it malleable? Will it roll? Can it stay still?
Just go for it.
Conclusion
At the end of the day, I did 4 animations. All different in their own ways. Did they look professional by any means? No way. My understanding of the concepts of stop motion and how to execute stop motion is very minimal. I can’t expect any “professional” looking animations at my skill level right now. But I learned a lot about the process throughout these trials.
Stop motion is still a fun medium to play around with. You can do so many things that you just can’t do with other forms of media. If you have a day, challenge yourself to create through stop motion.
We’d love to see what you create. Tag us on instagram @simplex.minds , twitter @simplexminds , or youtube @simplexminds to share with us what you create.
Remember the whole point of the Creative Club is to grow through experimentation and exploration. Don’t be afraid to be a beginner. You never know what you are going to learn about yourself creatively or mentally if you don’t try.
I tried, now it’s your turn!
Much love,
Troy